

THE PROCESS
HARDWARE AND TOOLS USED
- DIY CNC GRBL cnc that use GRBL CNC Shield.
- Fusion 360
- Universal G-code sender.
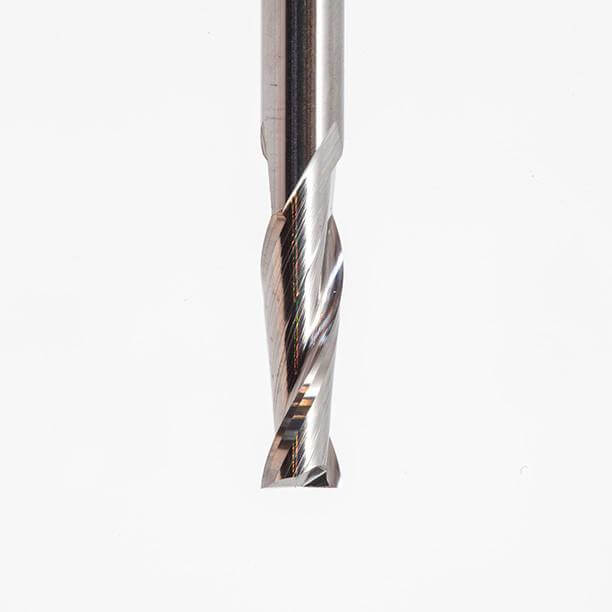
- 1/8'' bantamtools flat end mill
- Machinable wax block
-Smooth-on mold star™ 30
-Liquid plastic ( smooth-cast 320 )
-Plaster of paris
GENERATING THE TOOLPATH AND MILLING THE OBJECT
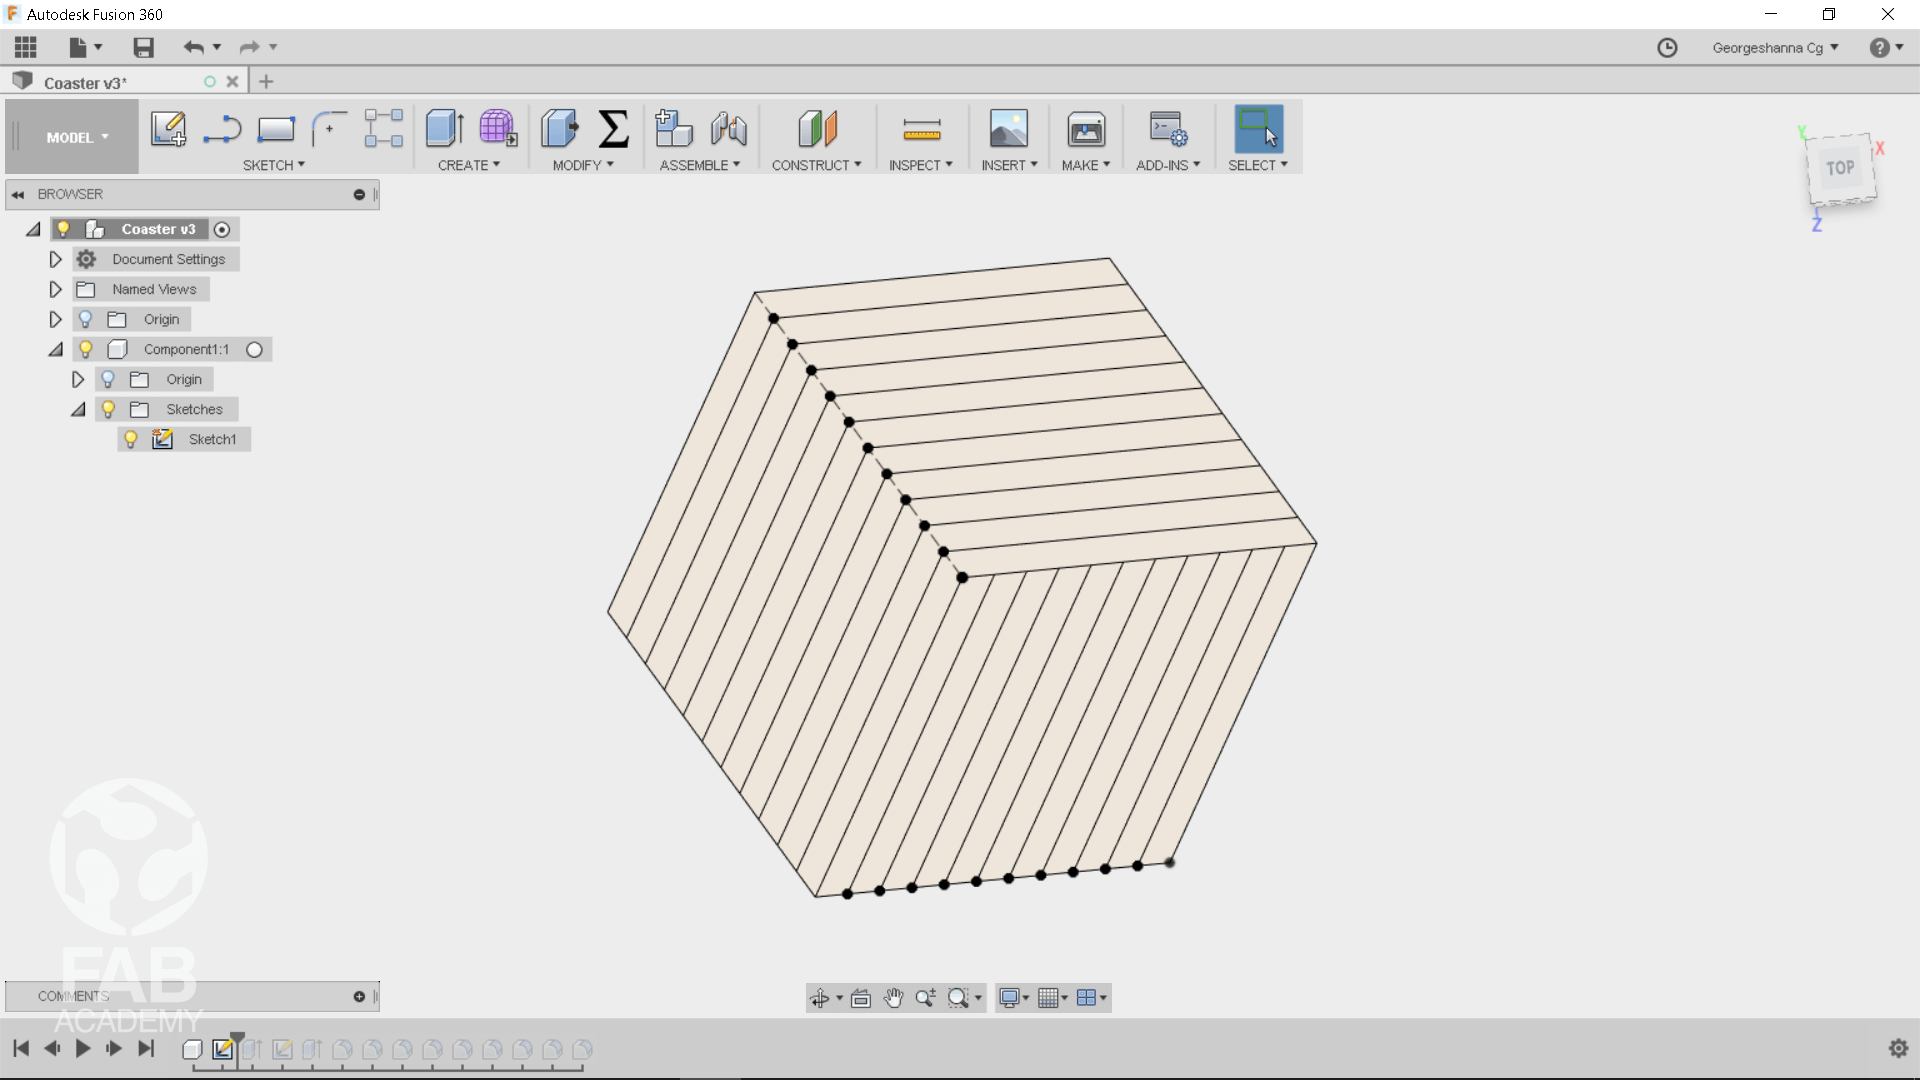
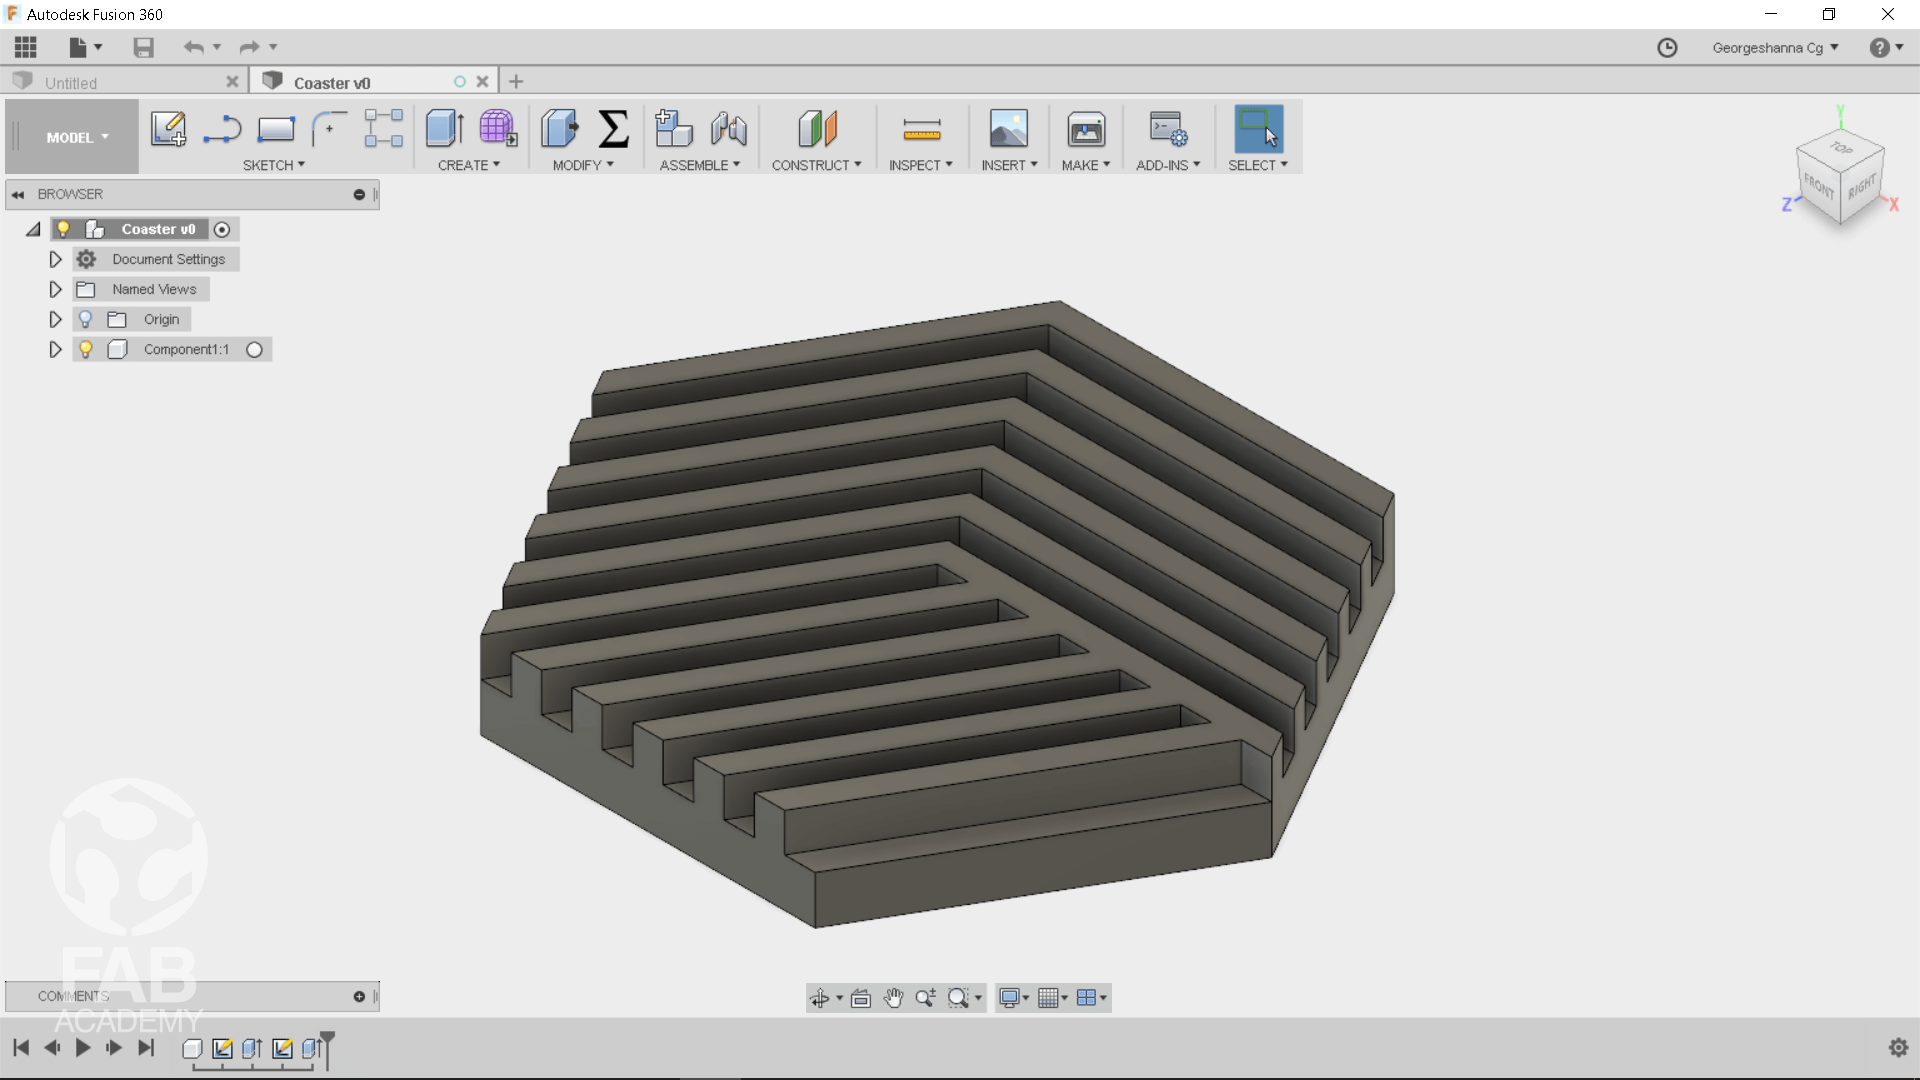
For making the mold first I started with designing the object in fusion
360 as shown it image # 02 and since that later on I'll be using a silicone rubber material for making the mold I decided to not include
draft angles in my design because of the flexibility of the rubber mold has which will allow me to
de-mould my object easily after the casting process to learn more about draft angles you can visit my WILDCARD WEEK . after that I had to generate the toolpath before starting with the milling process.
However, For generating the toolpath first I measured the dimensions of the machinable wax block that I’ll be for using for milling the size was of the block was (
1.5" (38mm) 3" (76mm) 7" (178mm)
) and the second thing I did was downloading and adding the necessary milling bits library for the bit that I will be using .
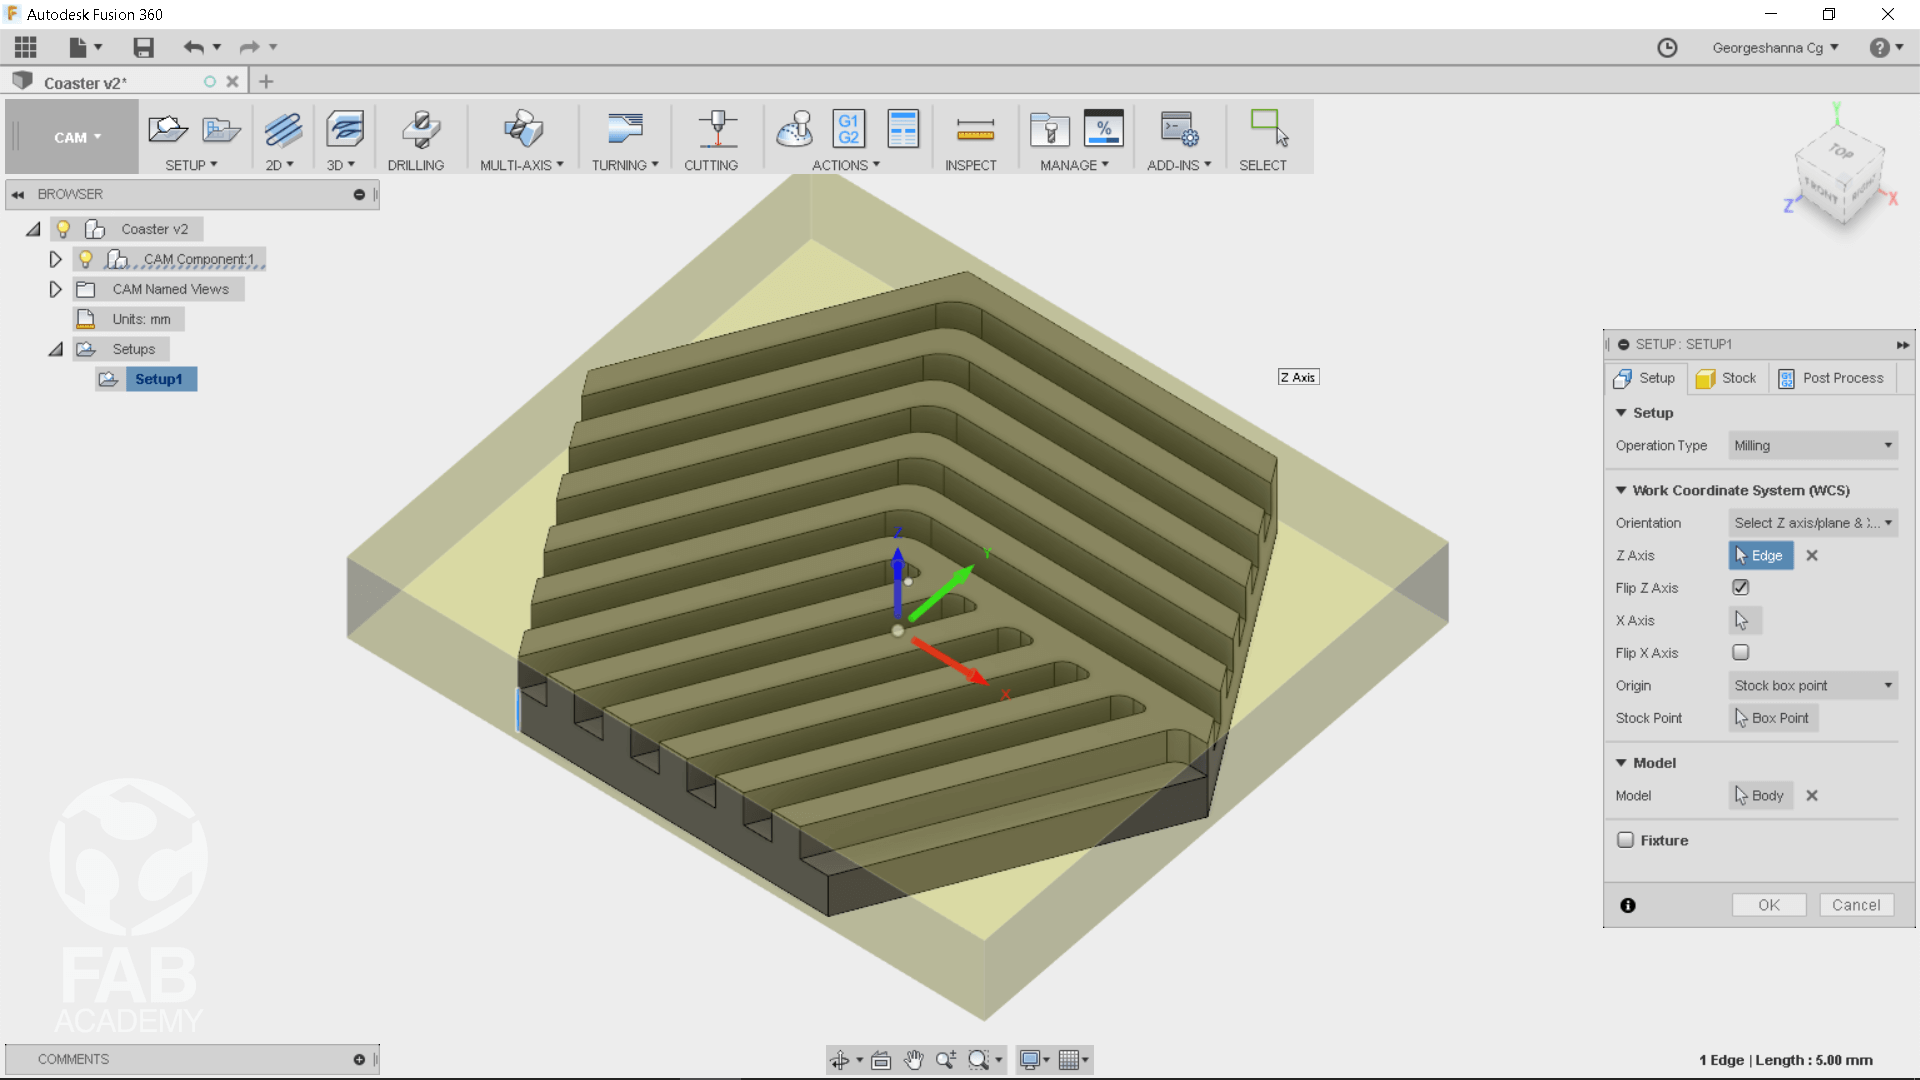
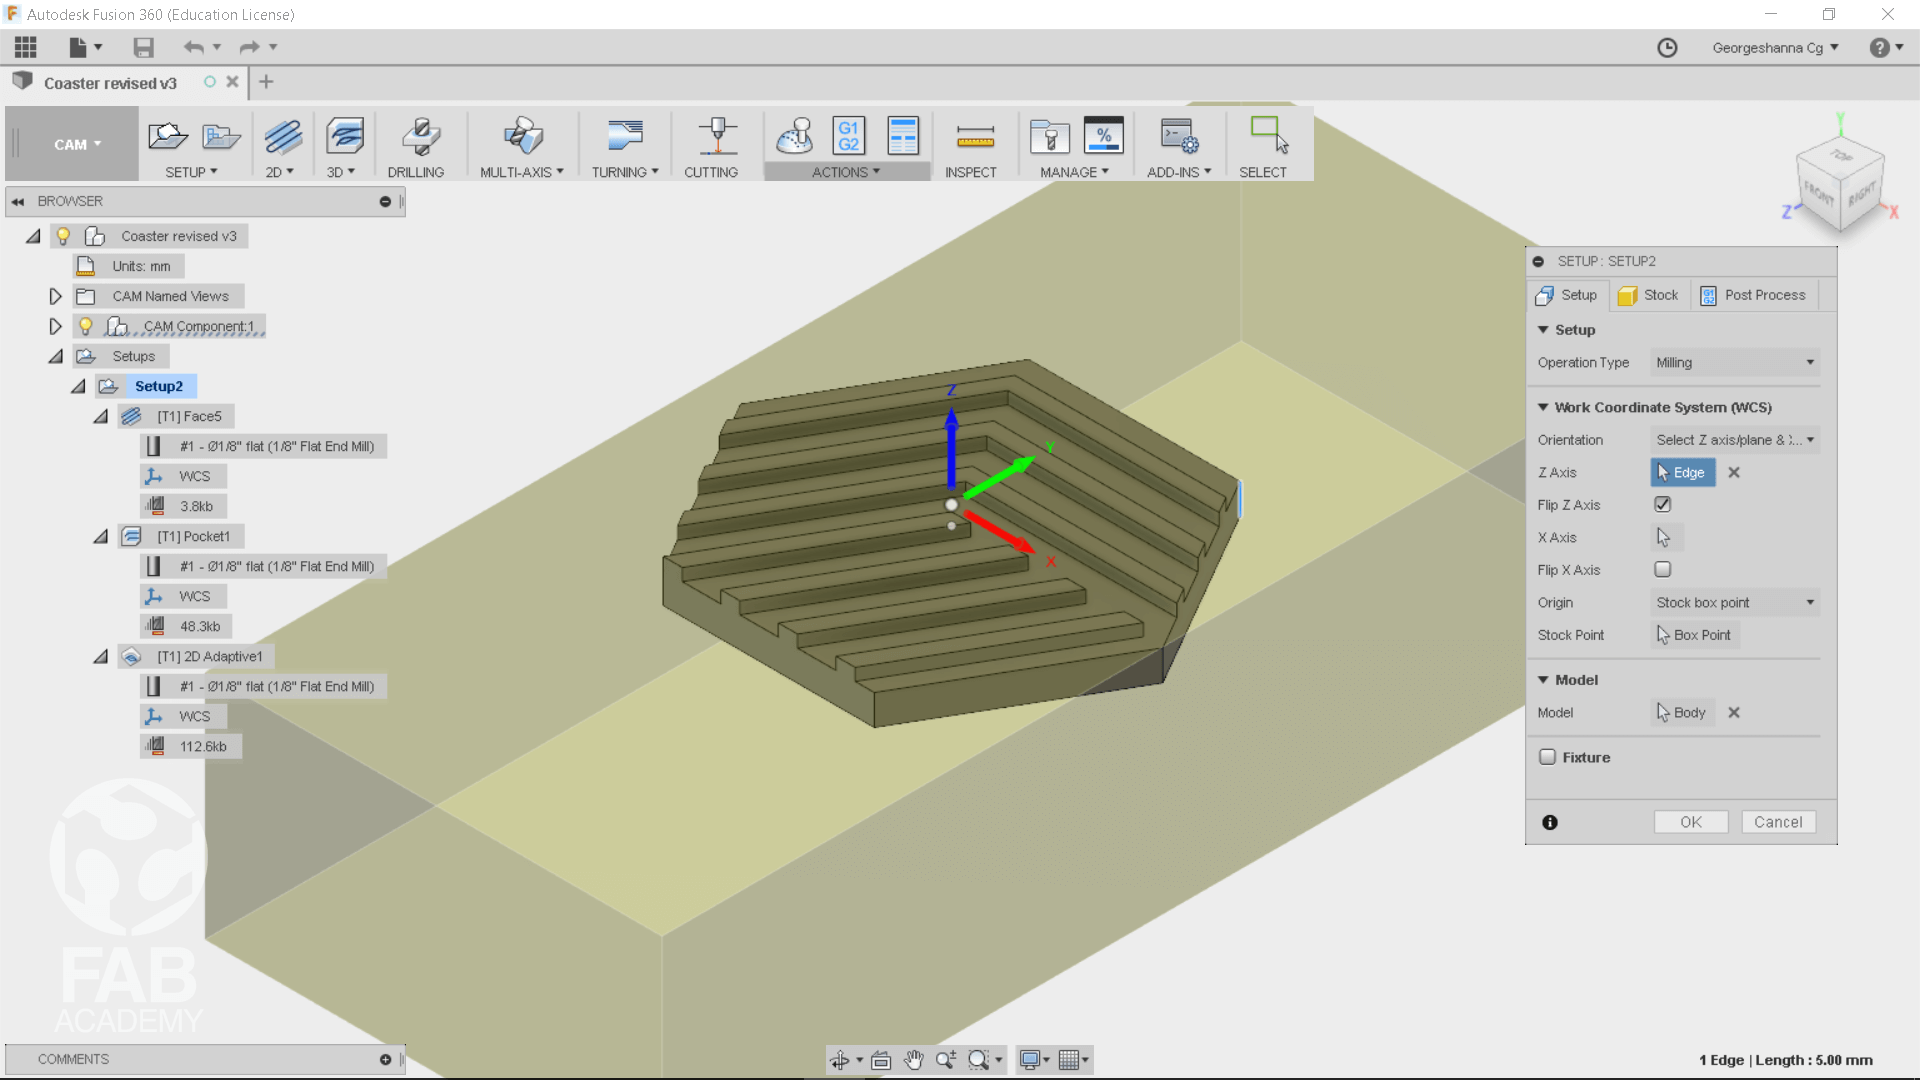
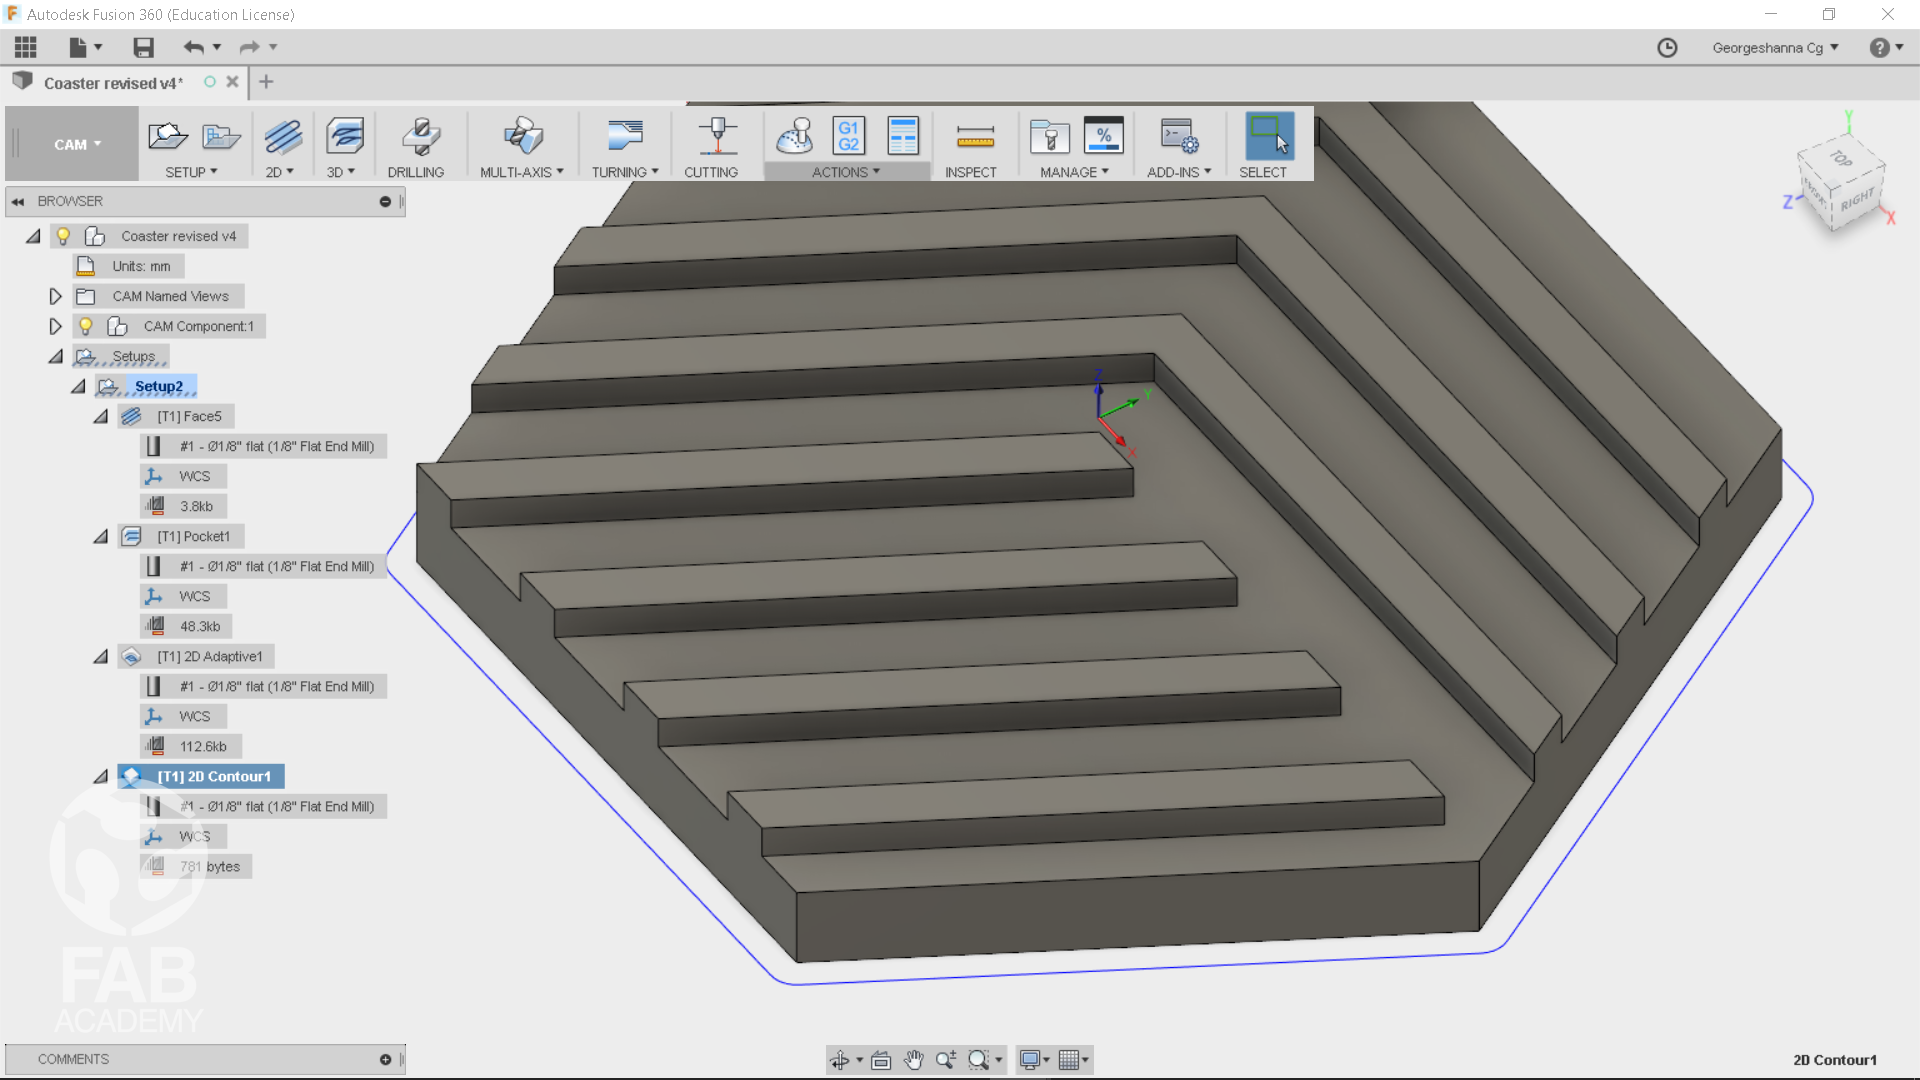
For the milling process I used 1/8’’ ( Flat end mill) we used bantamtools milling bits , the link to their website is mentioned in the links section. The first step in generating the toolpath was creating the setup I had to specify the material size and stock material along with determining the work coordinate System (WCS) as shown in image # 03
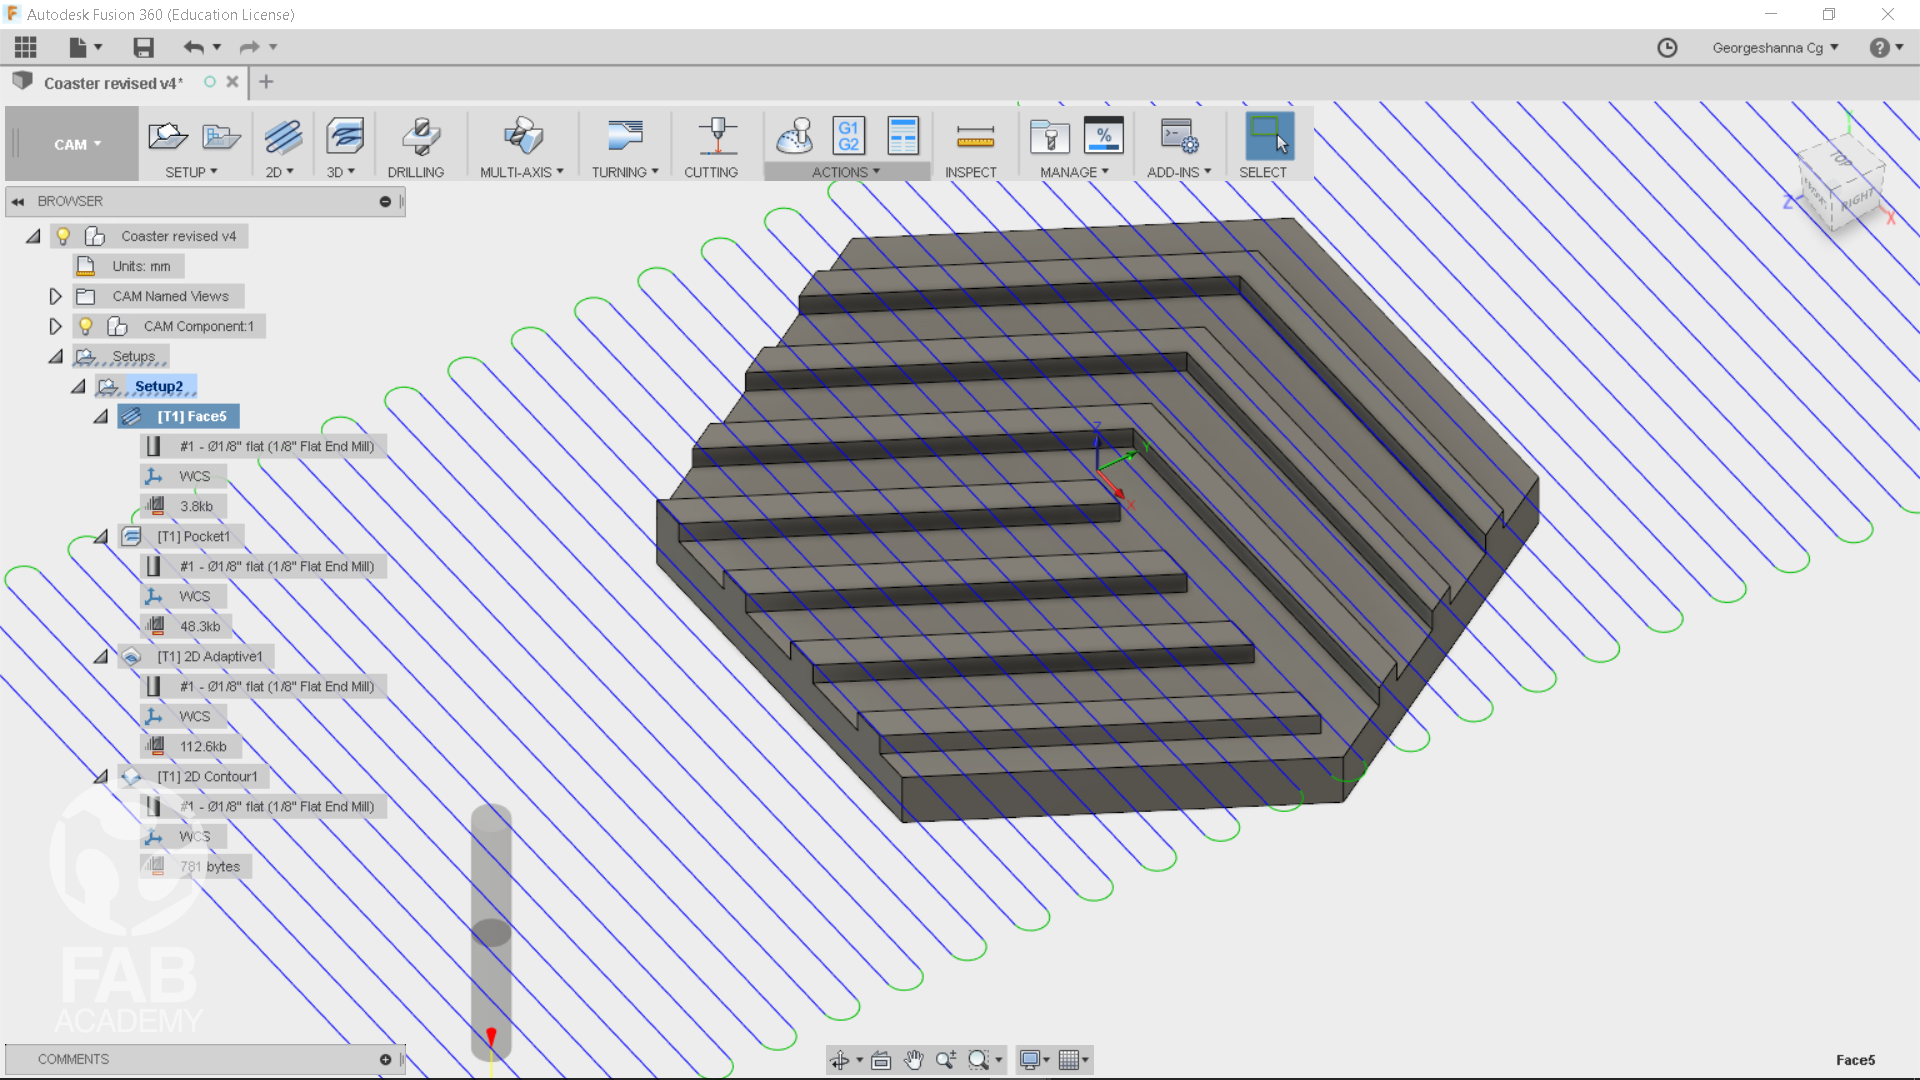
Next I used face feature as my 1st milling pass , face feature produce a quick part facing to prepare raw stock for machining and it to removes the materials from the top of the stock to top surface of my model this feature gave me a precise leveled surface and it was perfectly aligned with the CNC Z axis.
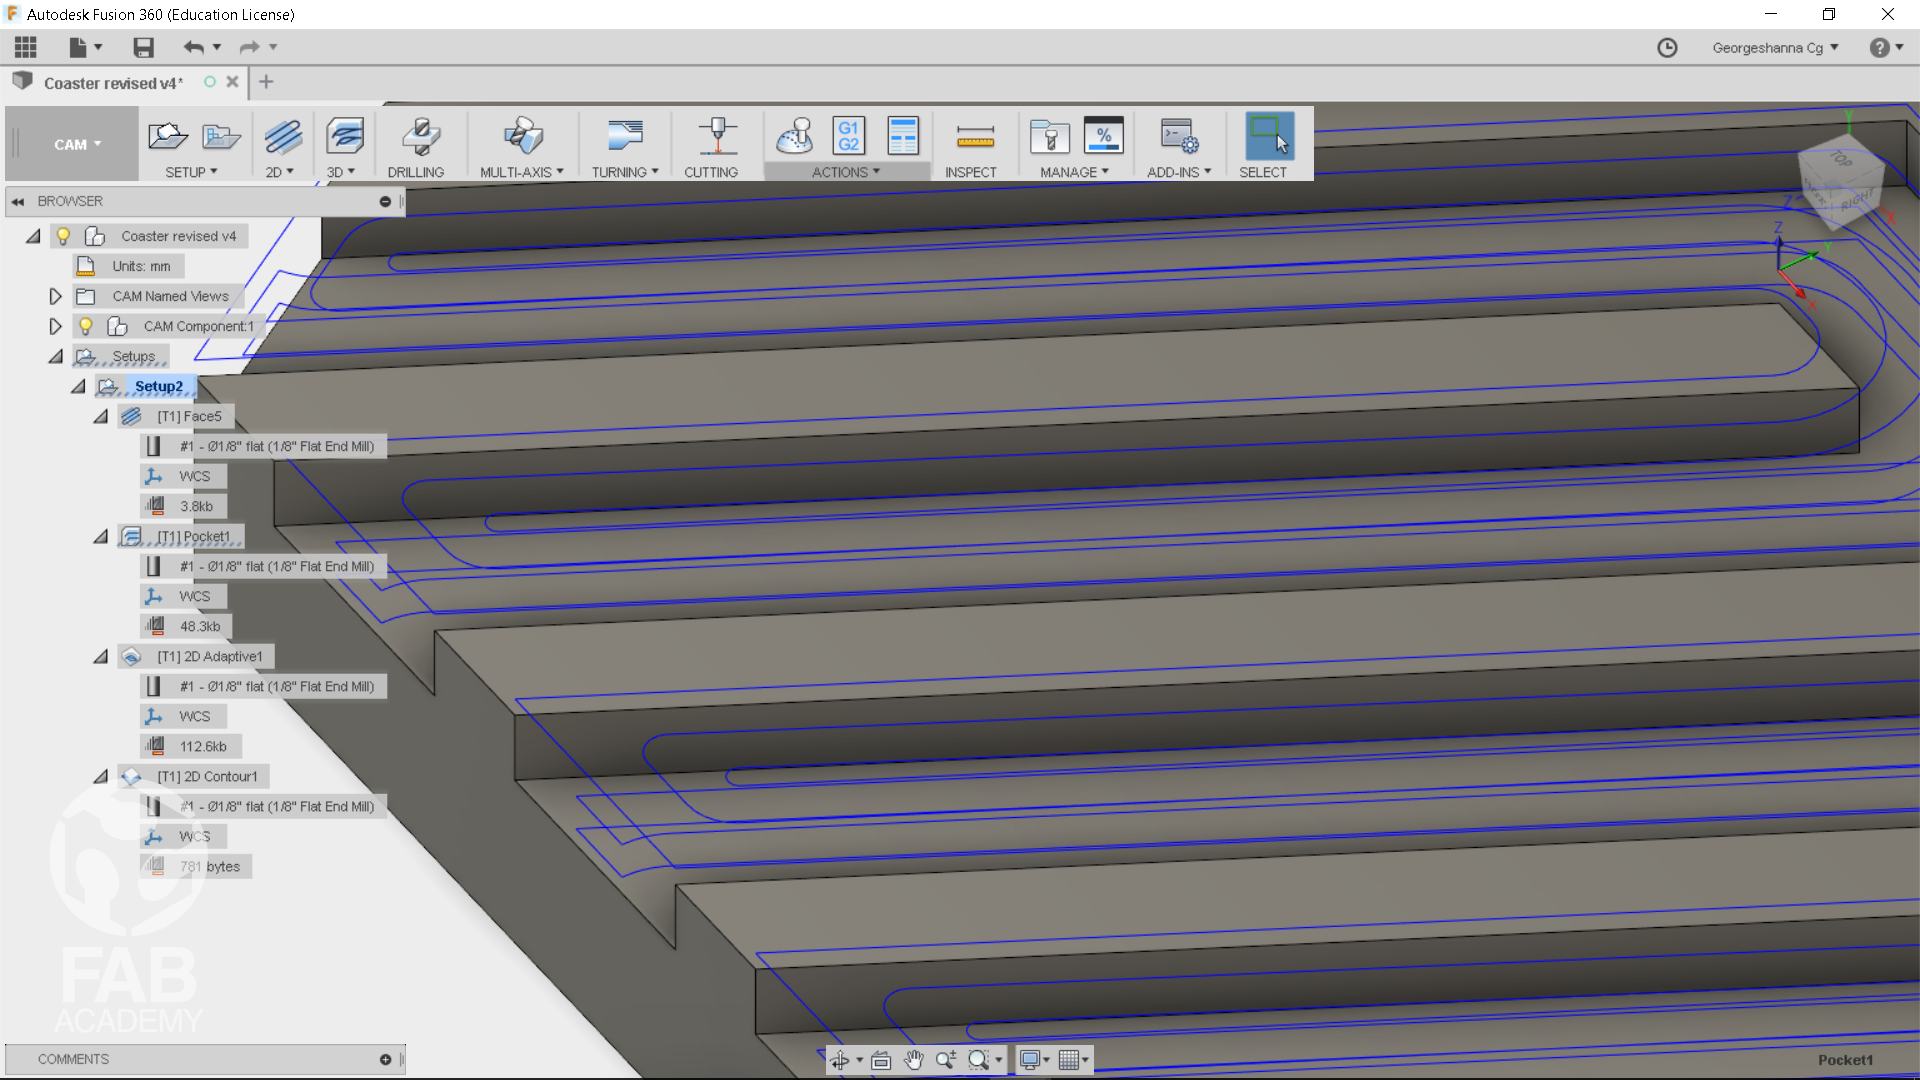
For the 2nd milling pass I used pocket feature since I wanted to have little groove channels in my design as shown in image # 08 however after the pocket feature pass was calculated I ran the simulation to check if everything works correctly in order to move to the next milling pass.
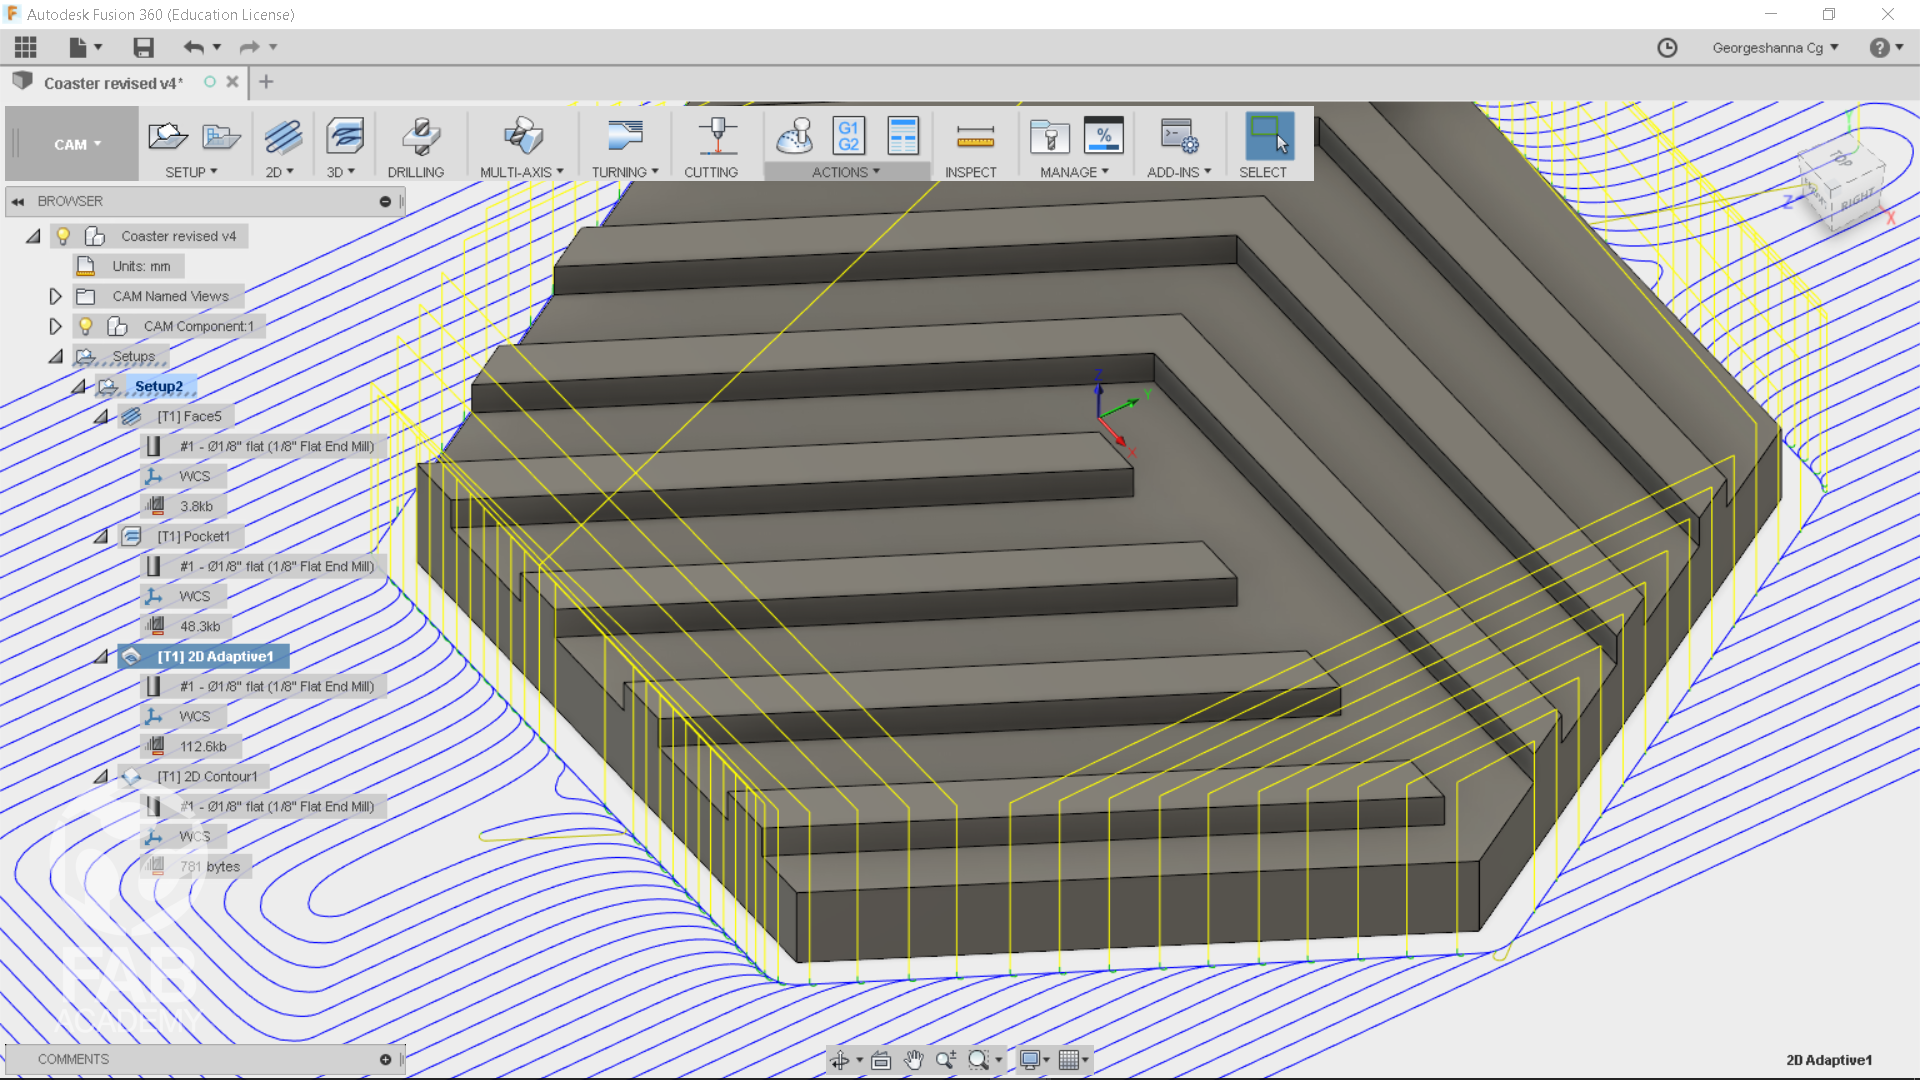
The 3thd milling pass I used was the 2D Adaptive clearing as shown in image # 08
I used this pass to remove all the materials surrounding the model and to smooth down the edges down I used 2D contour pass which was the last pass in generating toolpath process
2D contour is used to create contour milling pass based on a specified 2D contour path that is located in the model.
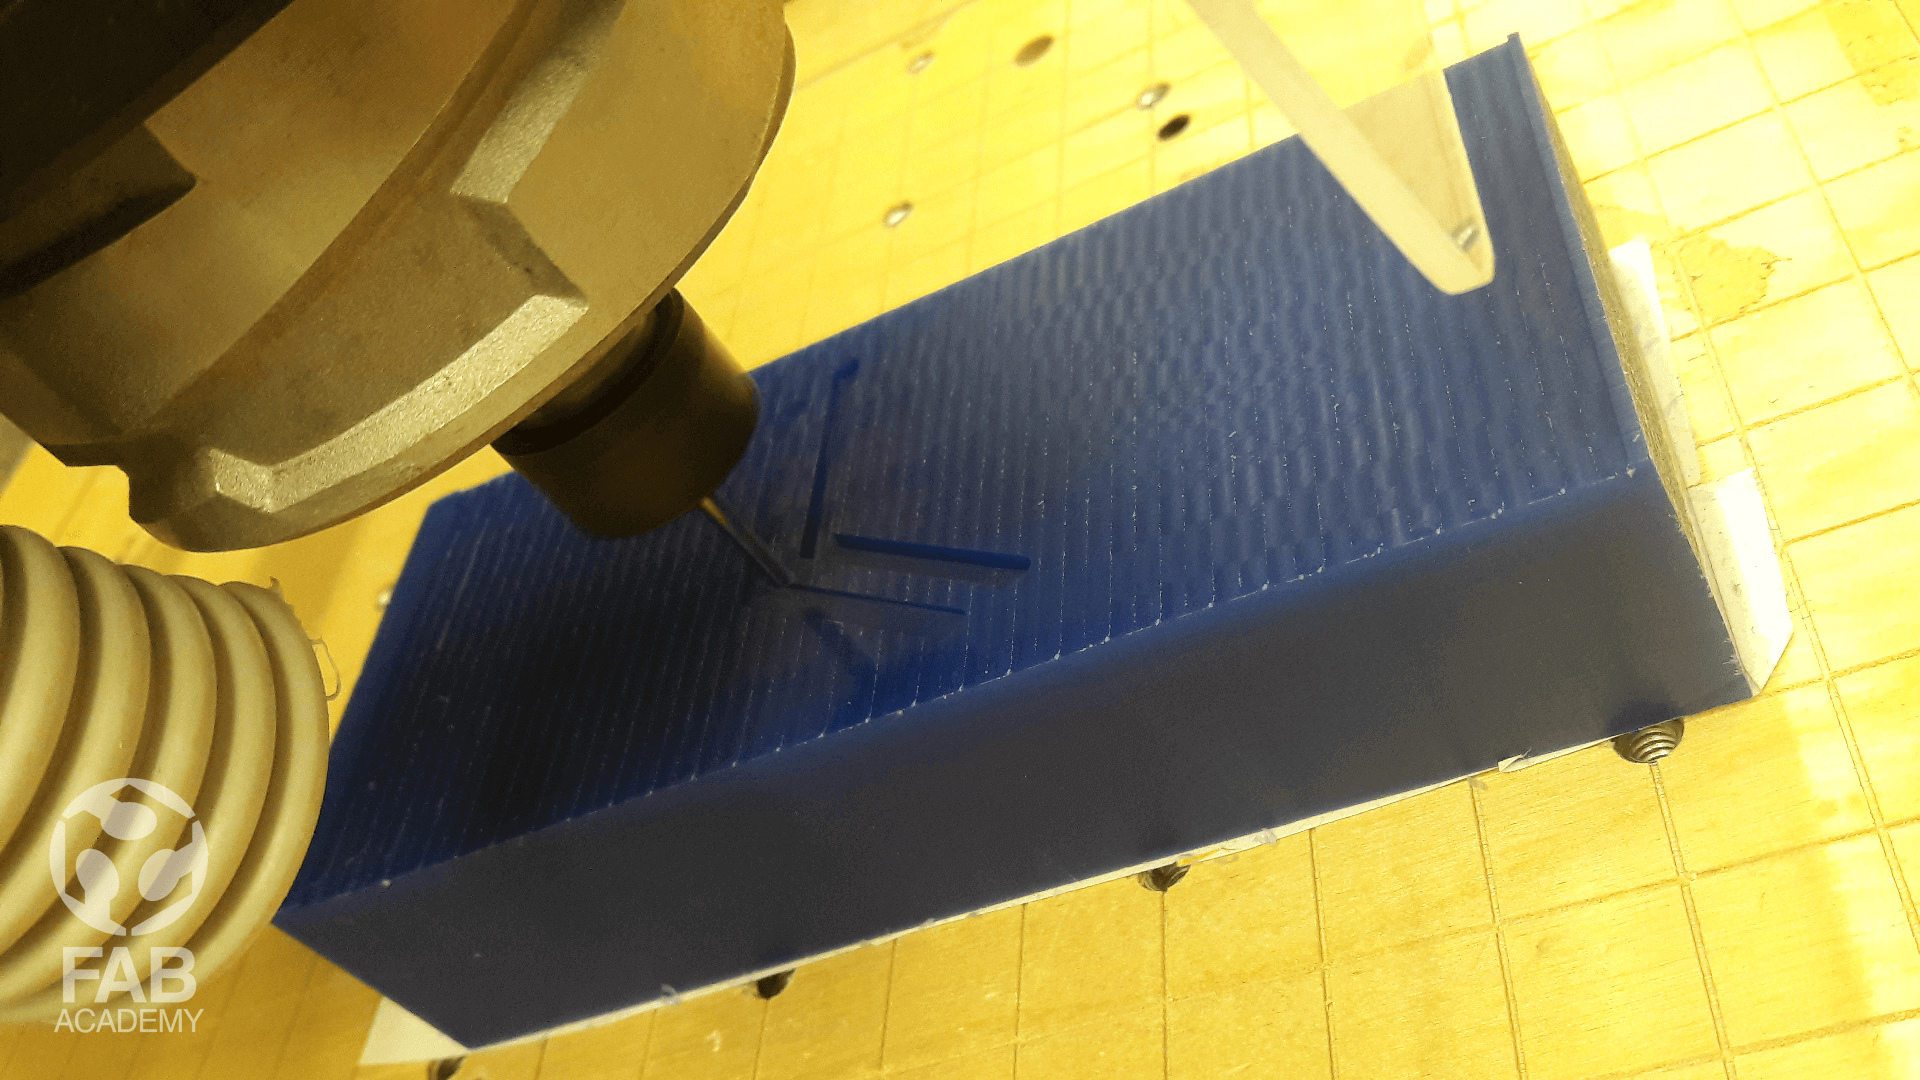
Then once I was done with generating toolpath I was ready for the milling process, Mainly I had 4 toolpaths passes to send however I exported the 4 toolpaths in G-code format in order to be able to open them on universal G-code sender.
The milling workflow with universal G-code sender was approximately the same as the workflow for milling PCB boards in terms of machine setup first I had to fix the block of machinable wax on the CNC machine table by using double sided tape and then I had to zero out the 3 axis and load the first G-code file into the program and press run.
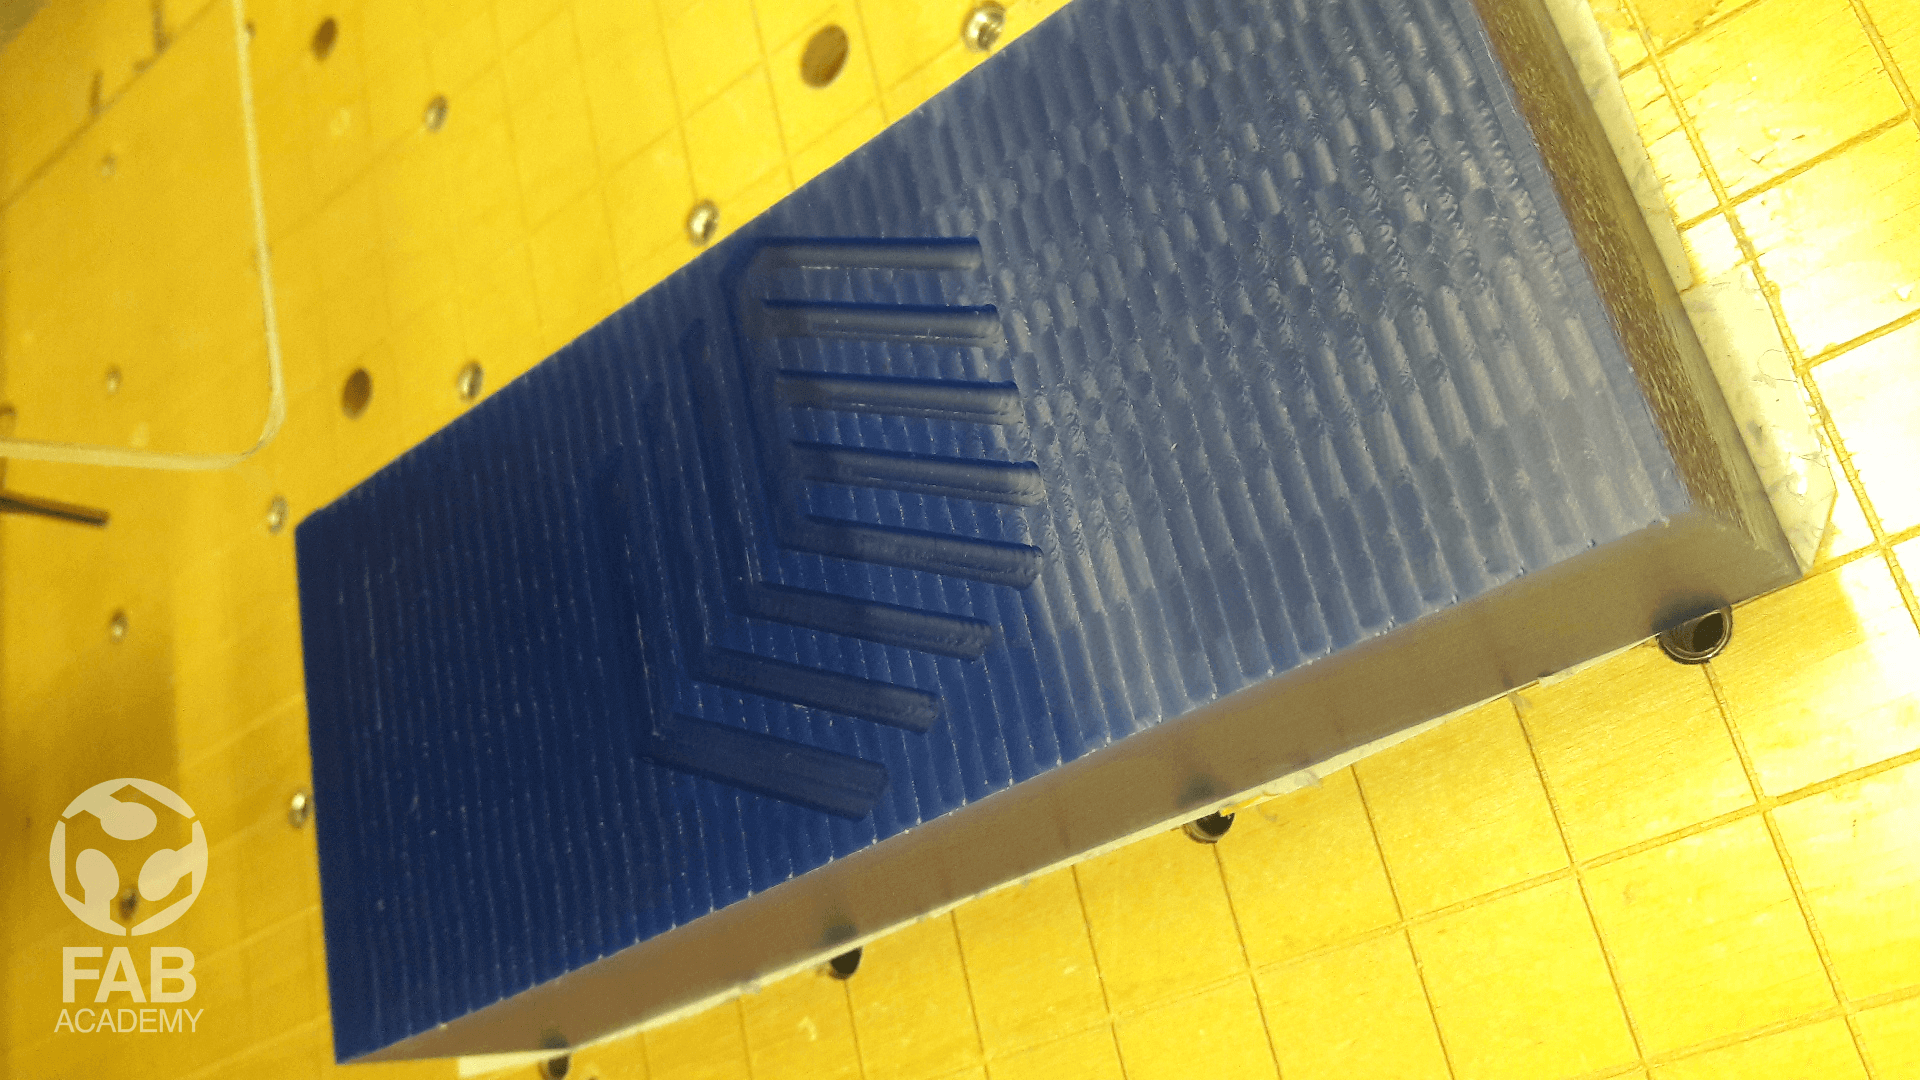
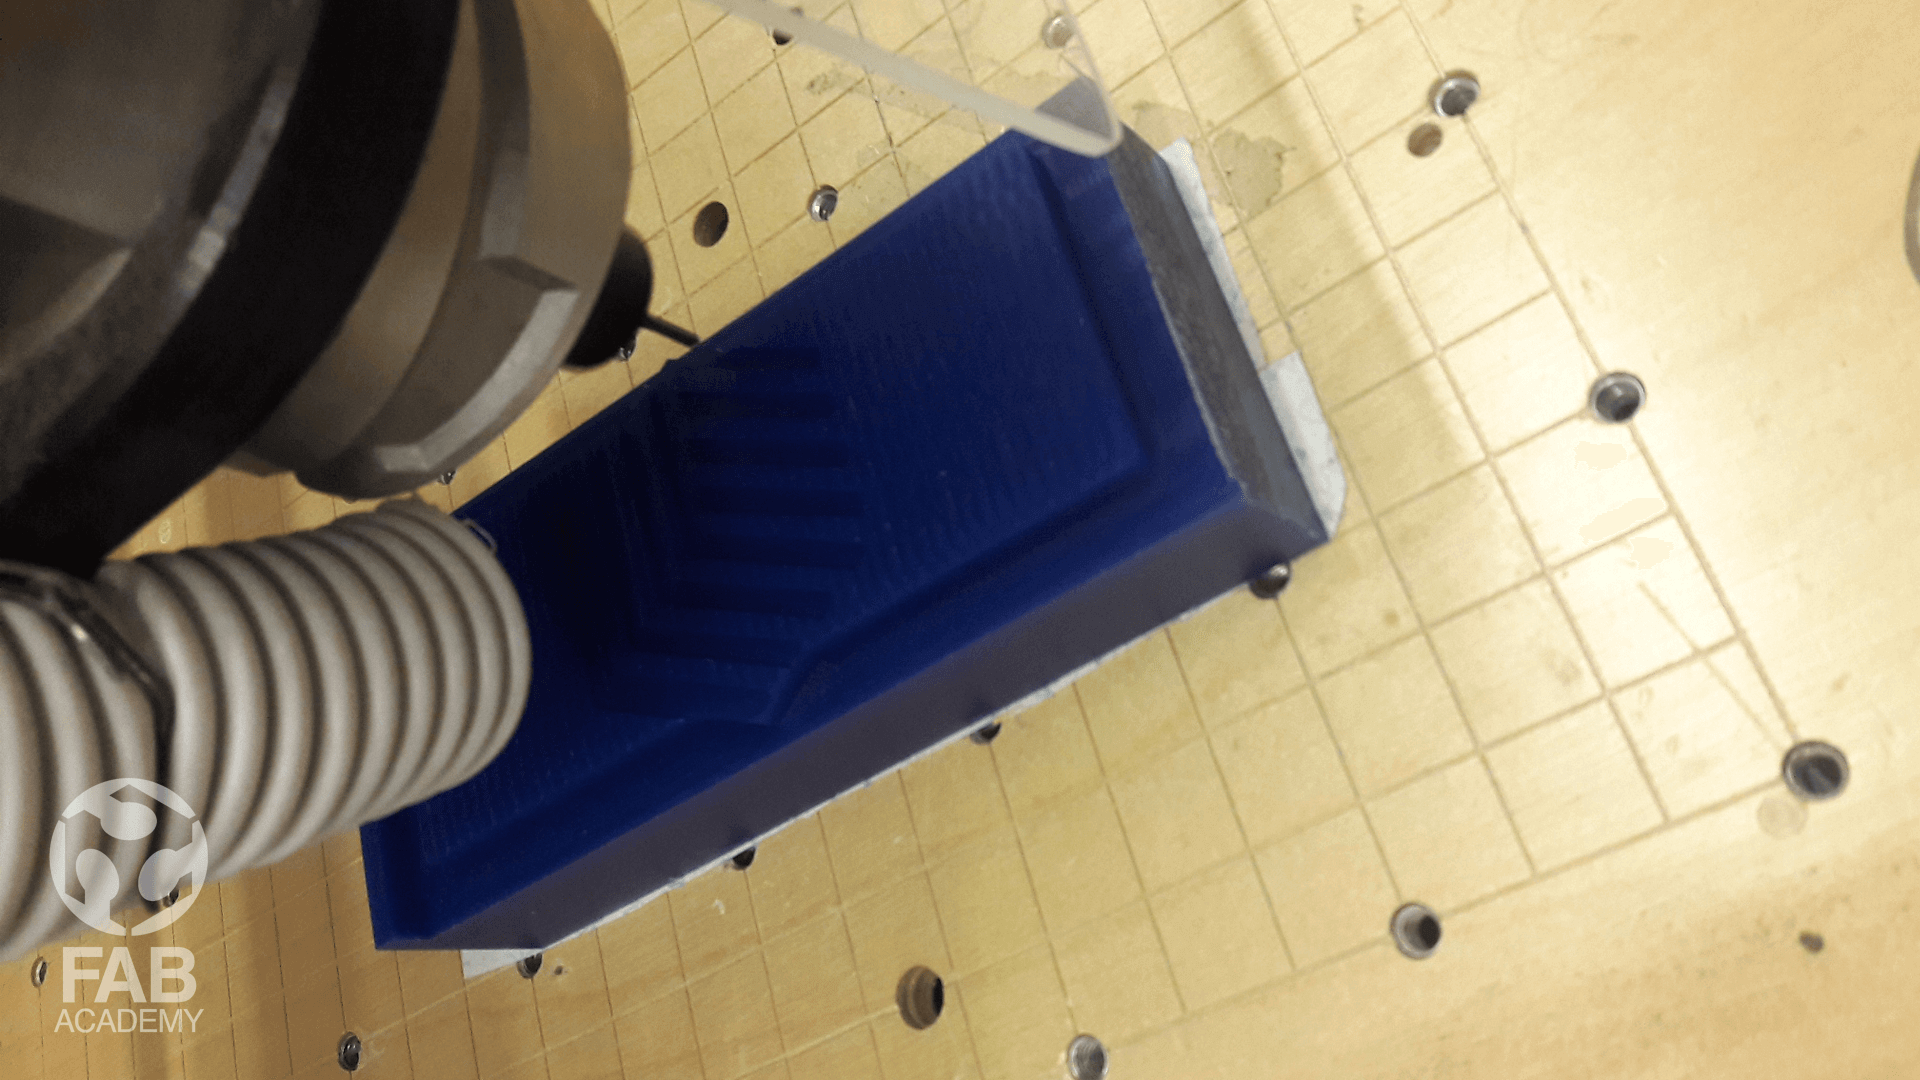
I was loading and sending each toolpath individually and after I was done with running the 4 toolpaths I had really a nice high-end result as shown in image # 14
MAKING THE MOULD
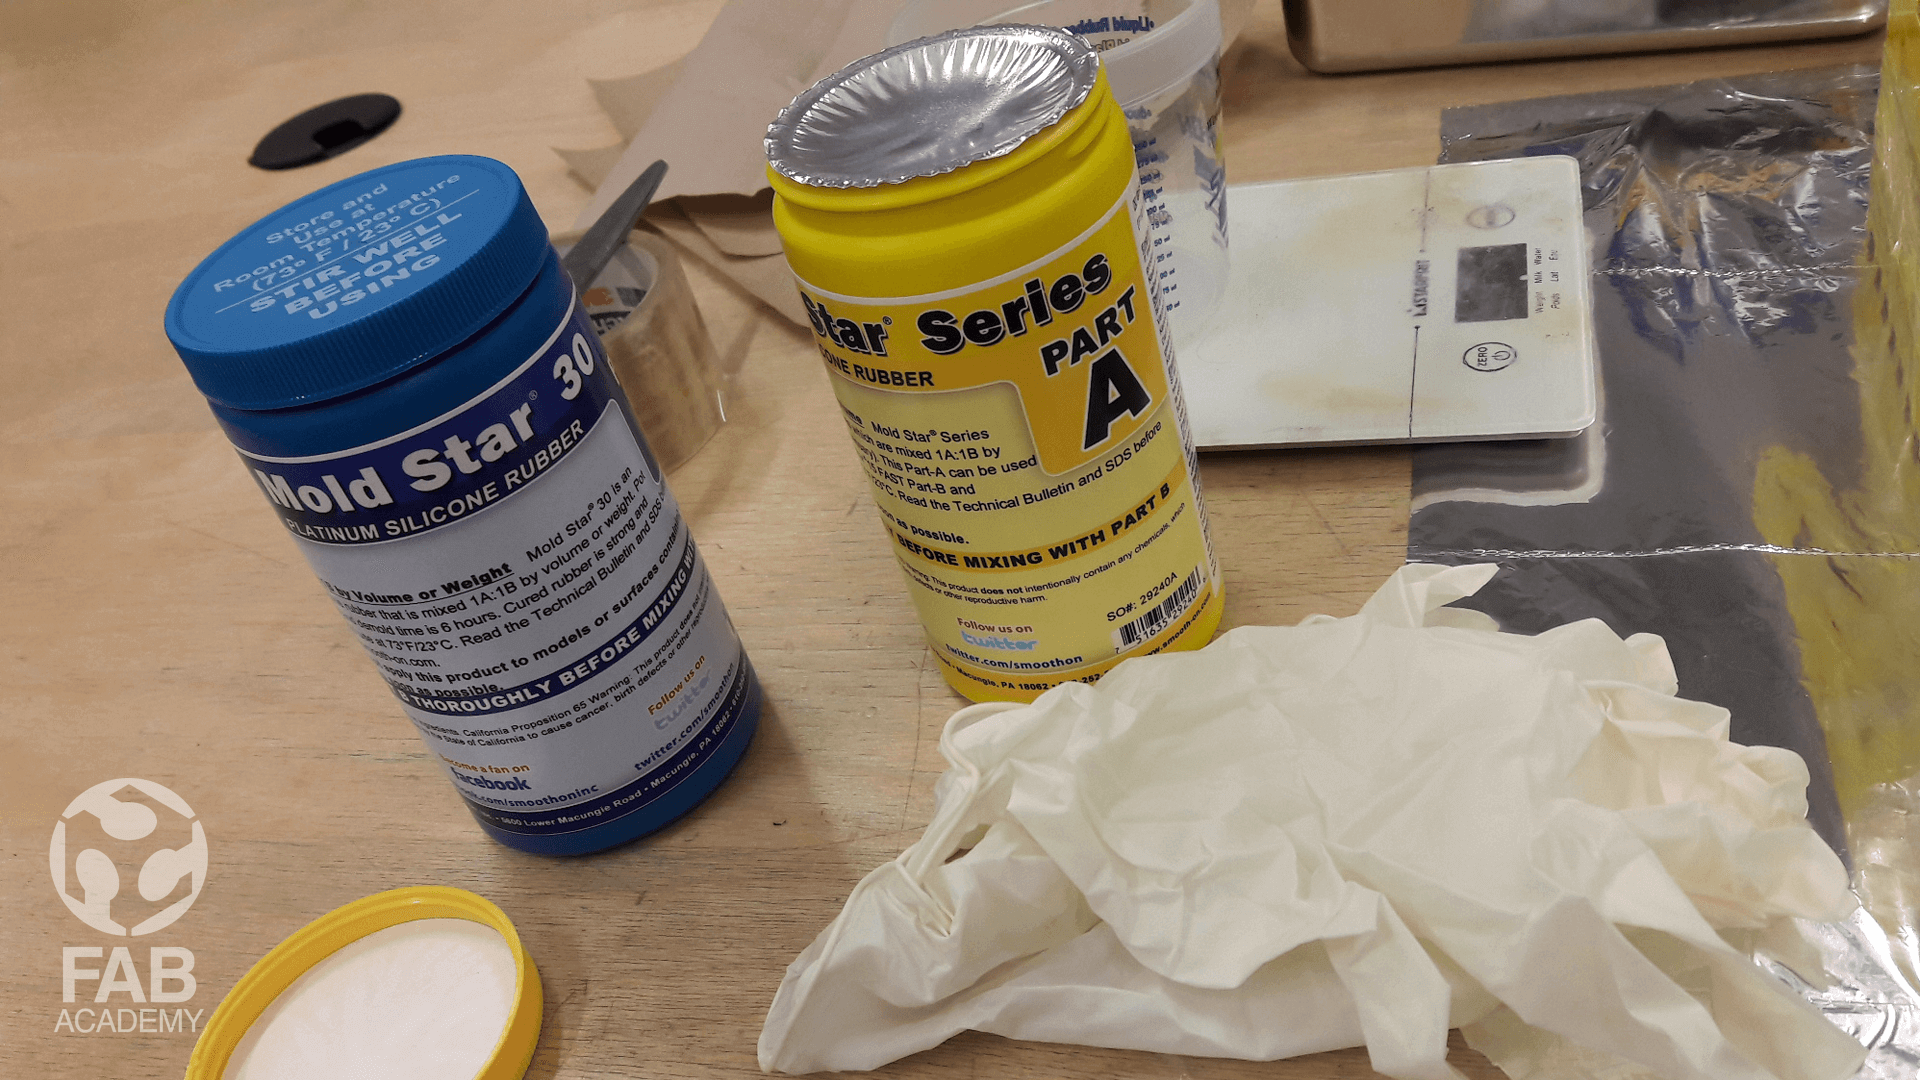
For making the mould we used smooth on MOLD STAR™ 30 the first thing I did was reading the data sheet and the safety instructions it was highly recommended to wear safety glasses, long sleeves and rubber gloves to minimize contamination risk ad to use the product in Use in a properly ventilated area The 2nd thing I checked was the mixing ration so for this product the mixing ratio was 1:1 by voulome . Below is the technical data for MOLD STAR™ 30 : + pecific Gravity 1.12 g/cc + Pot Life 45 minutes + Cure Time 6 hours + Shore Hardness 30 A + Tensile Strength 420 psi + 100% Modulus 96 psi + Elongation @ Break 339 % + Die B Tear Strength 88 pli + Color Blue + Mix Ratio By Volume 1A:1B + Shrinkage <.001 in. / in. + Useful Temperature (max) 450 °F + Useful Temperature (min) -65 °F + Mixed Viscosity 12,500 cps
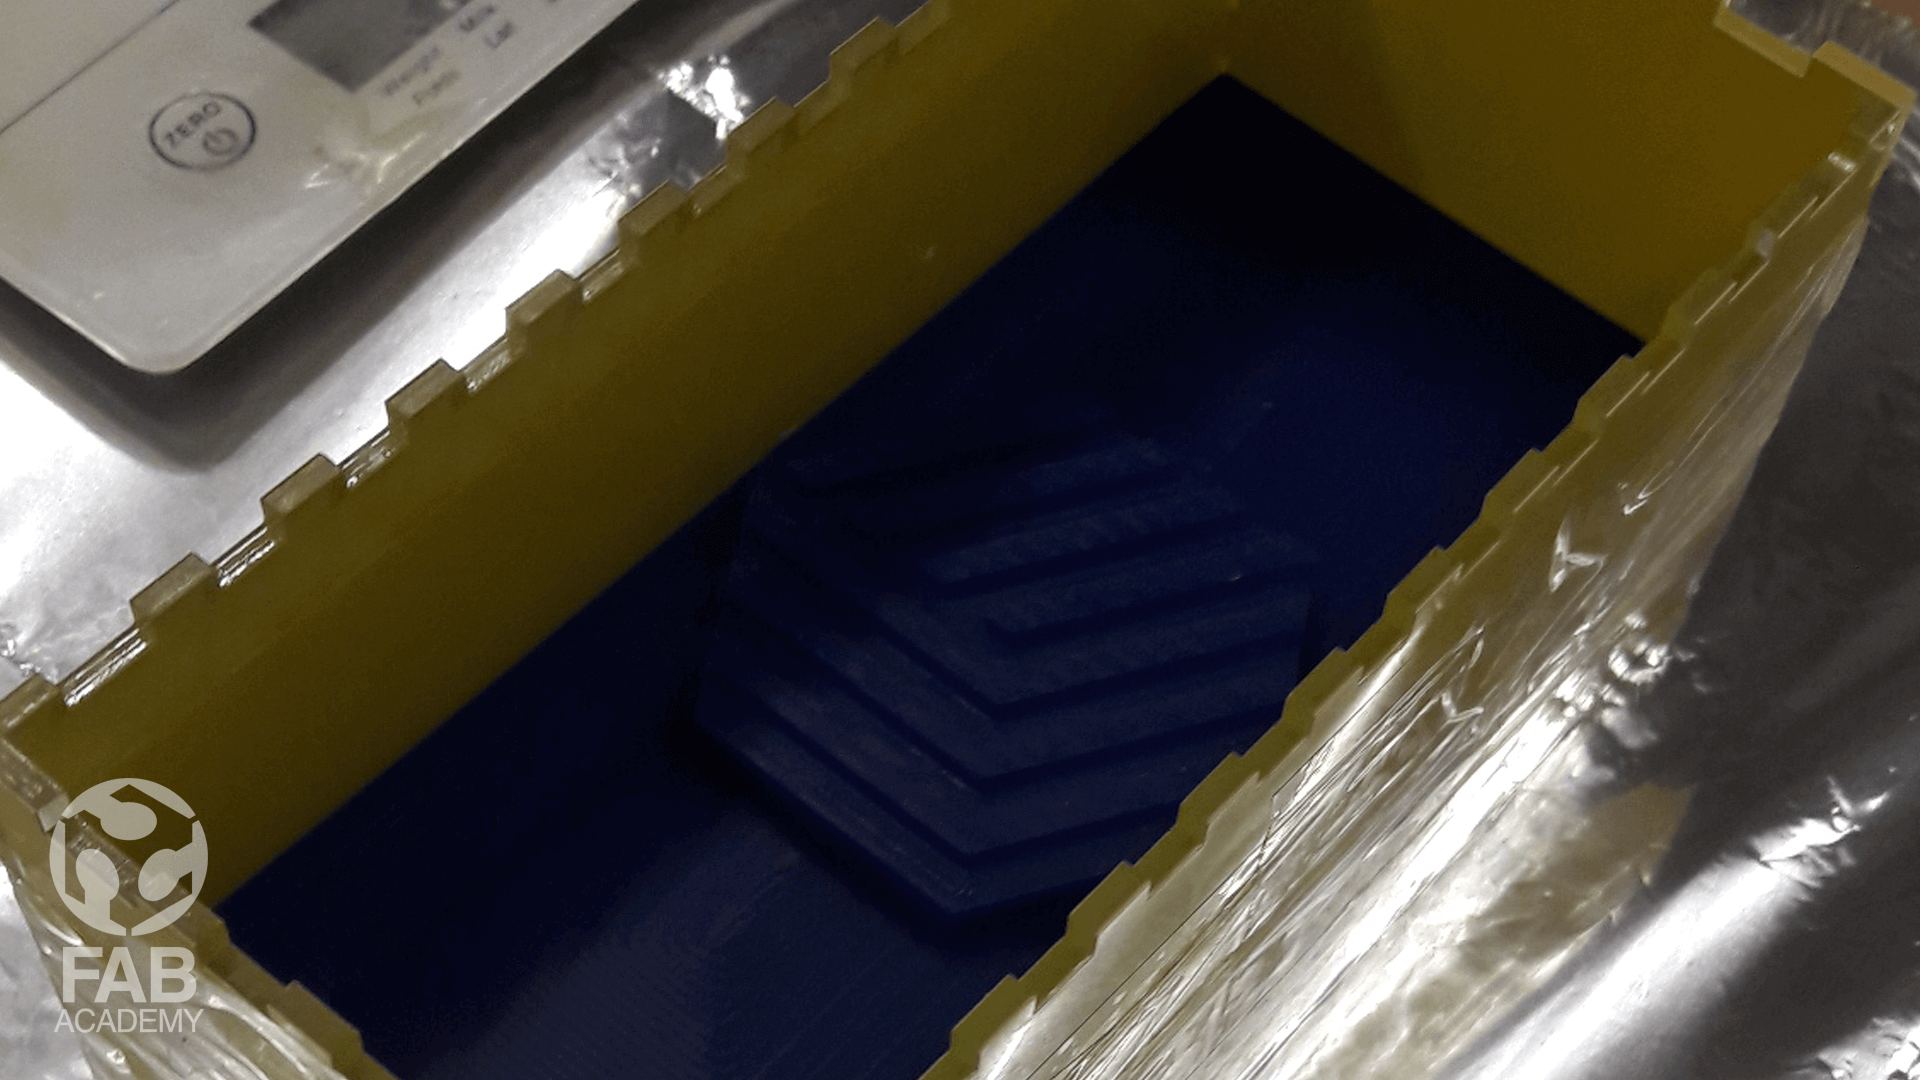
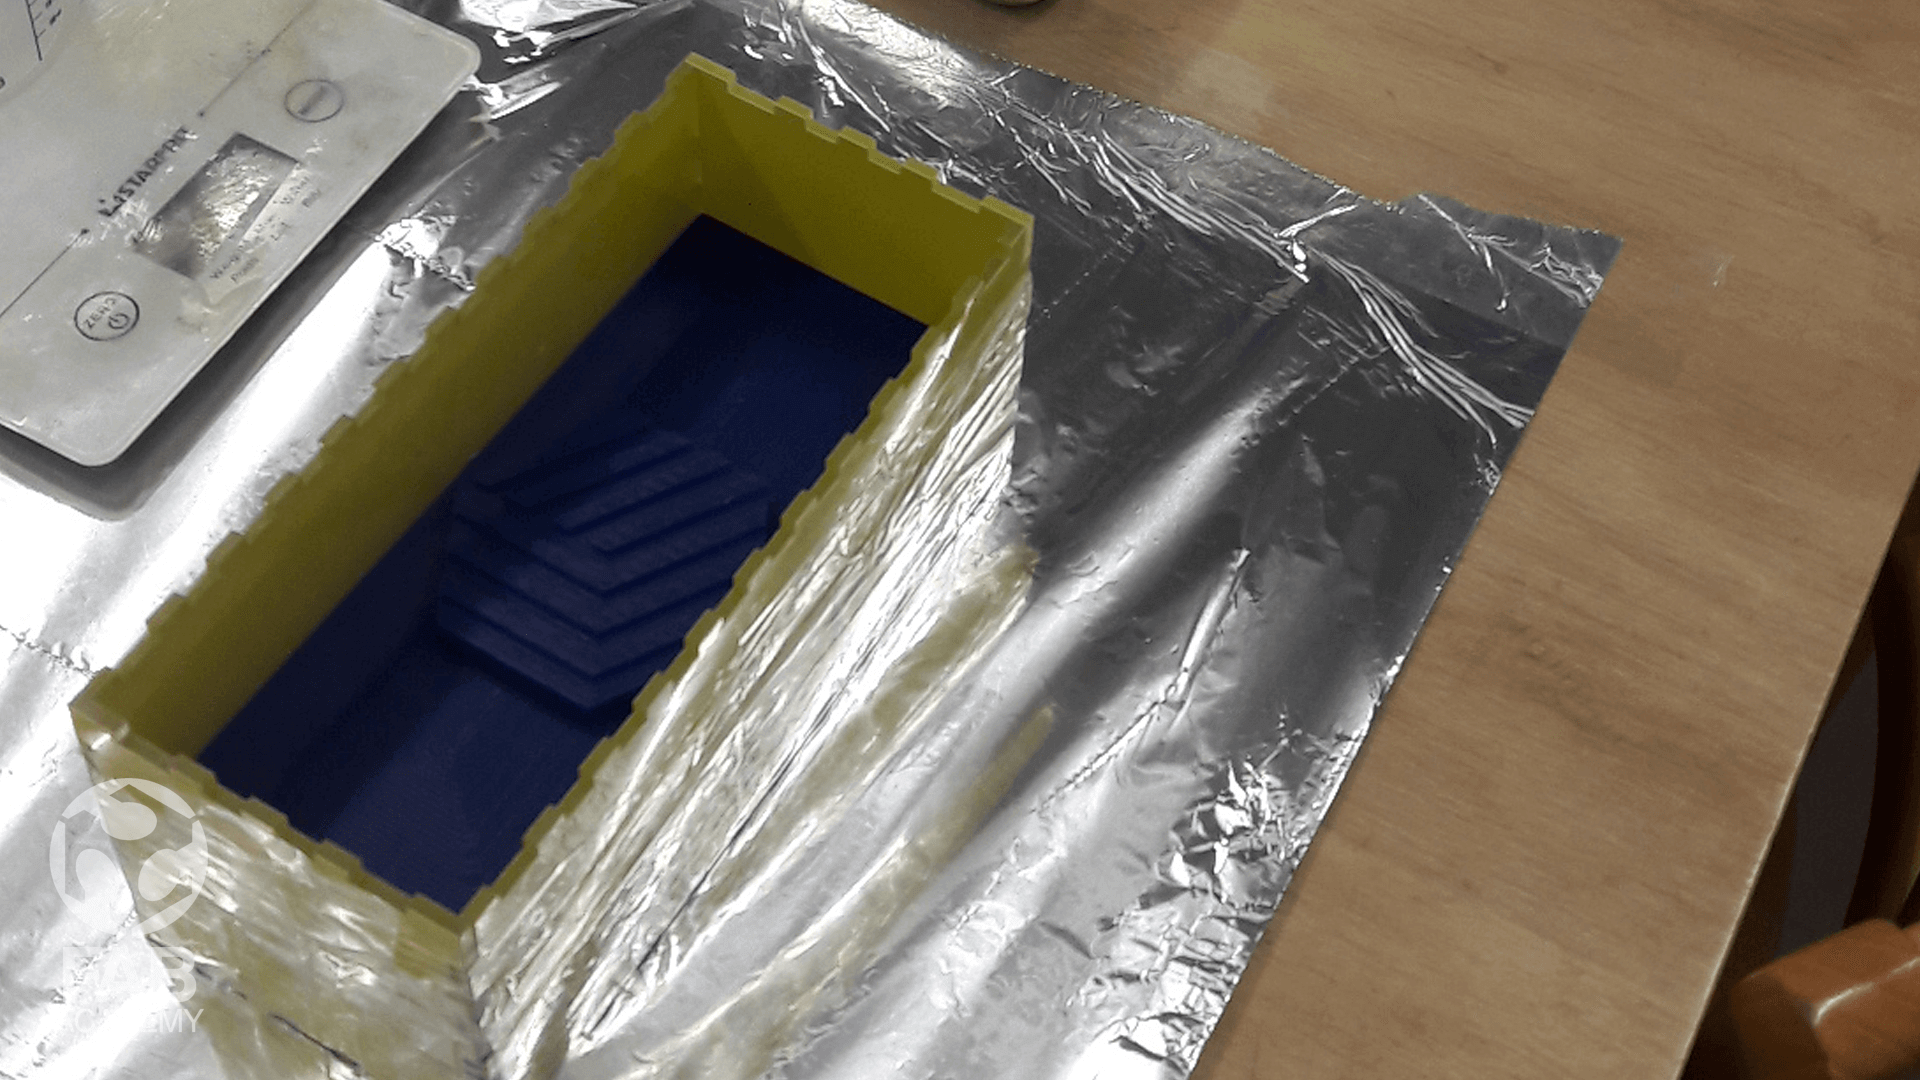
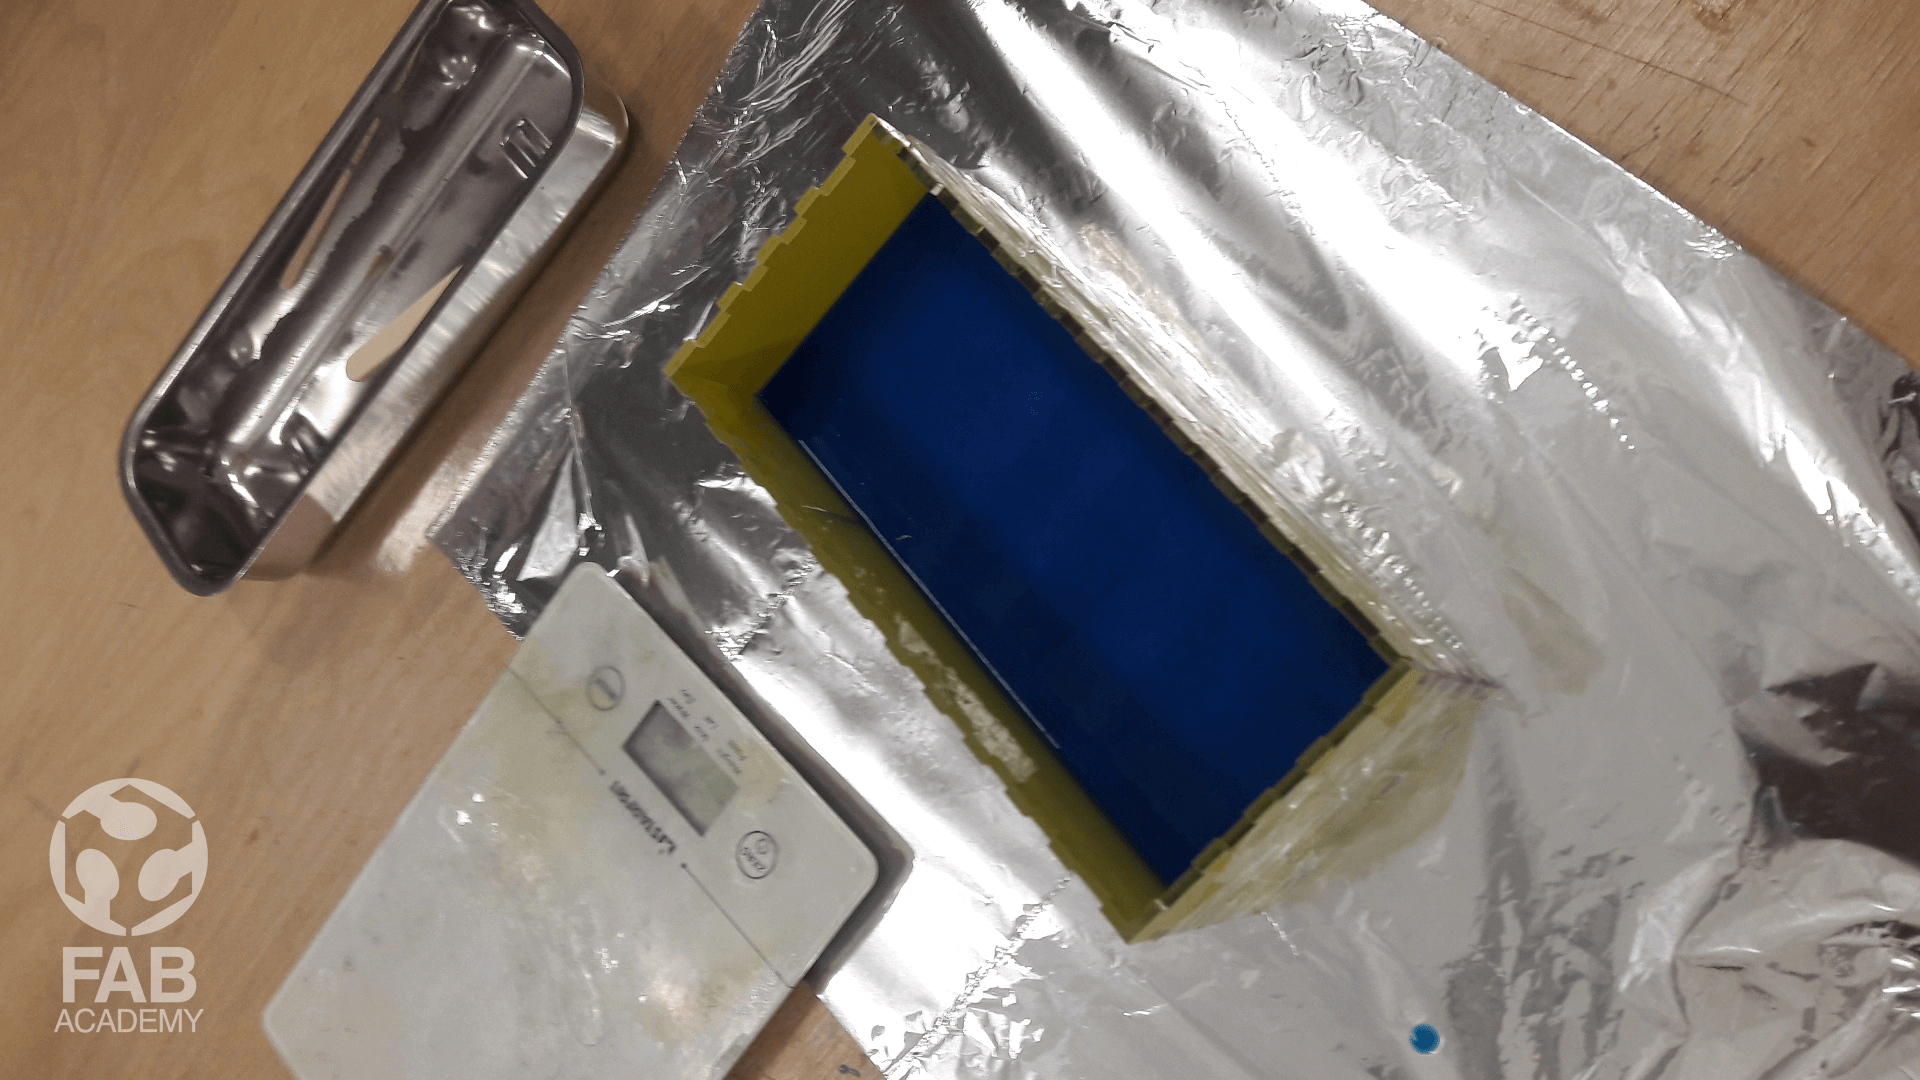
While I was pouring the silicon rubber materials I saw a few air bubbles floating and popping up on the top surface so in order to remove all the hidden bubbles inside the liquid rubber and to make my mold bubble free I shook the plastic acrylic box many times and this helped me a lot with removing all the bubbles inside. The thickens of my rubber mold was around 12 mm from the highest point of my object. After I was done with purring the silicon rubber material I just waited till next day to remove it from the mold but technically speaking the curing time is around 6 hours as it was mentioned on the technical data sheet. The next day once I demold my mold it was looking super smooth and a bubble free mold I was really surprise with the end result .
CASTING
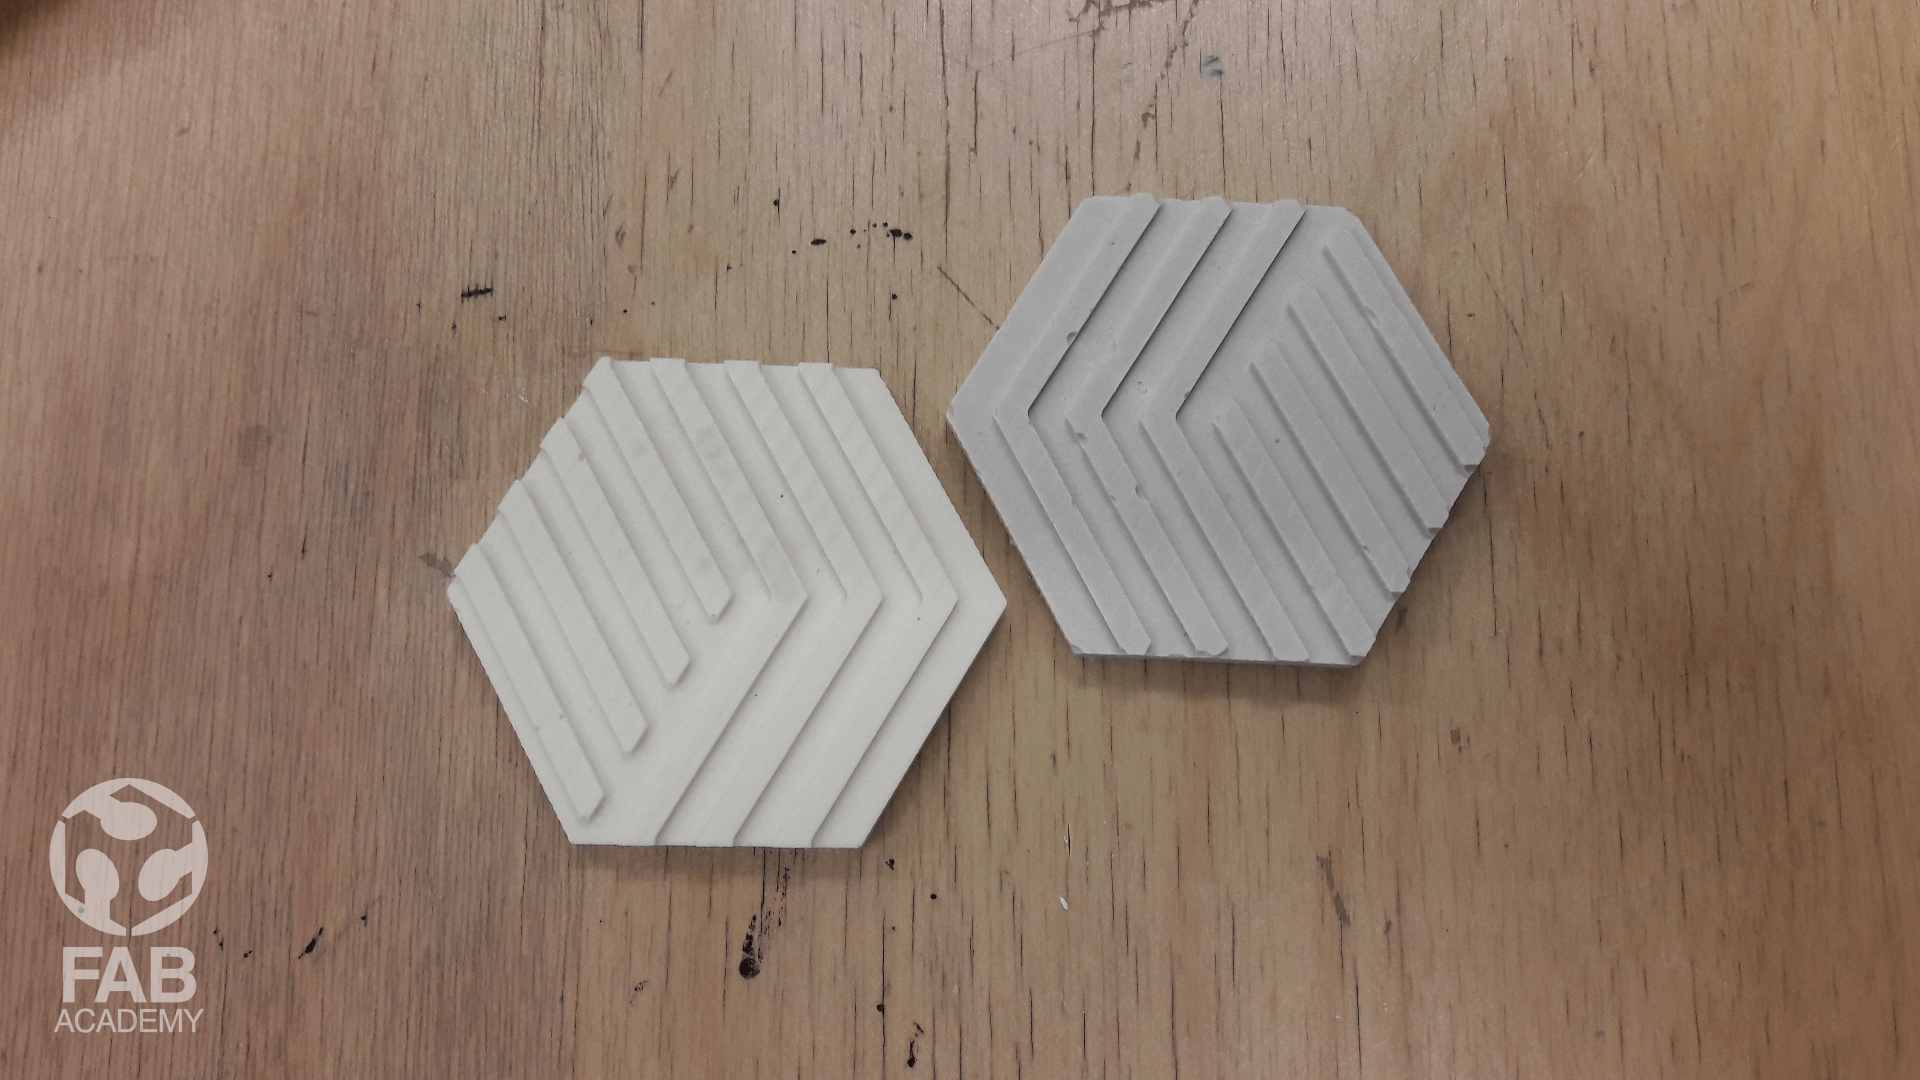
For casting I decided to try two different materials in order to see which one in more durable and which one gives me a better finishing quality.
So for this task I used Plaster of Paris and Smooth-cast 320 liquid plastic.
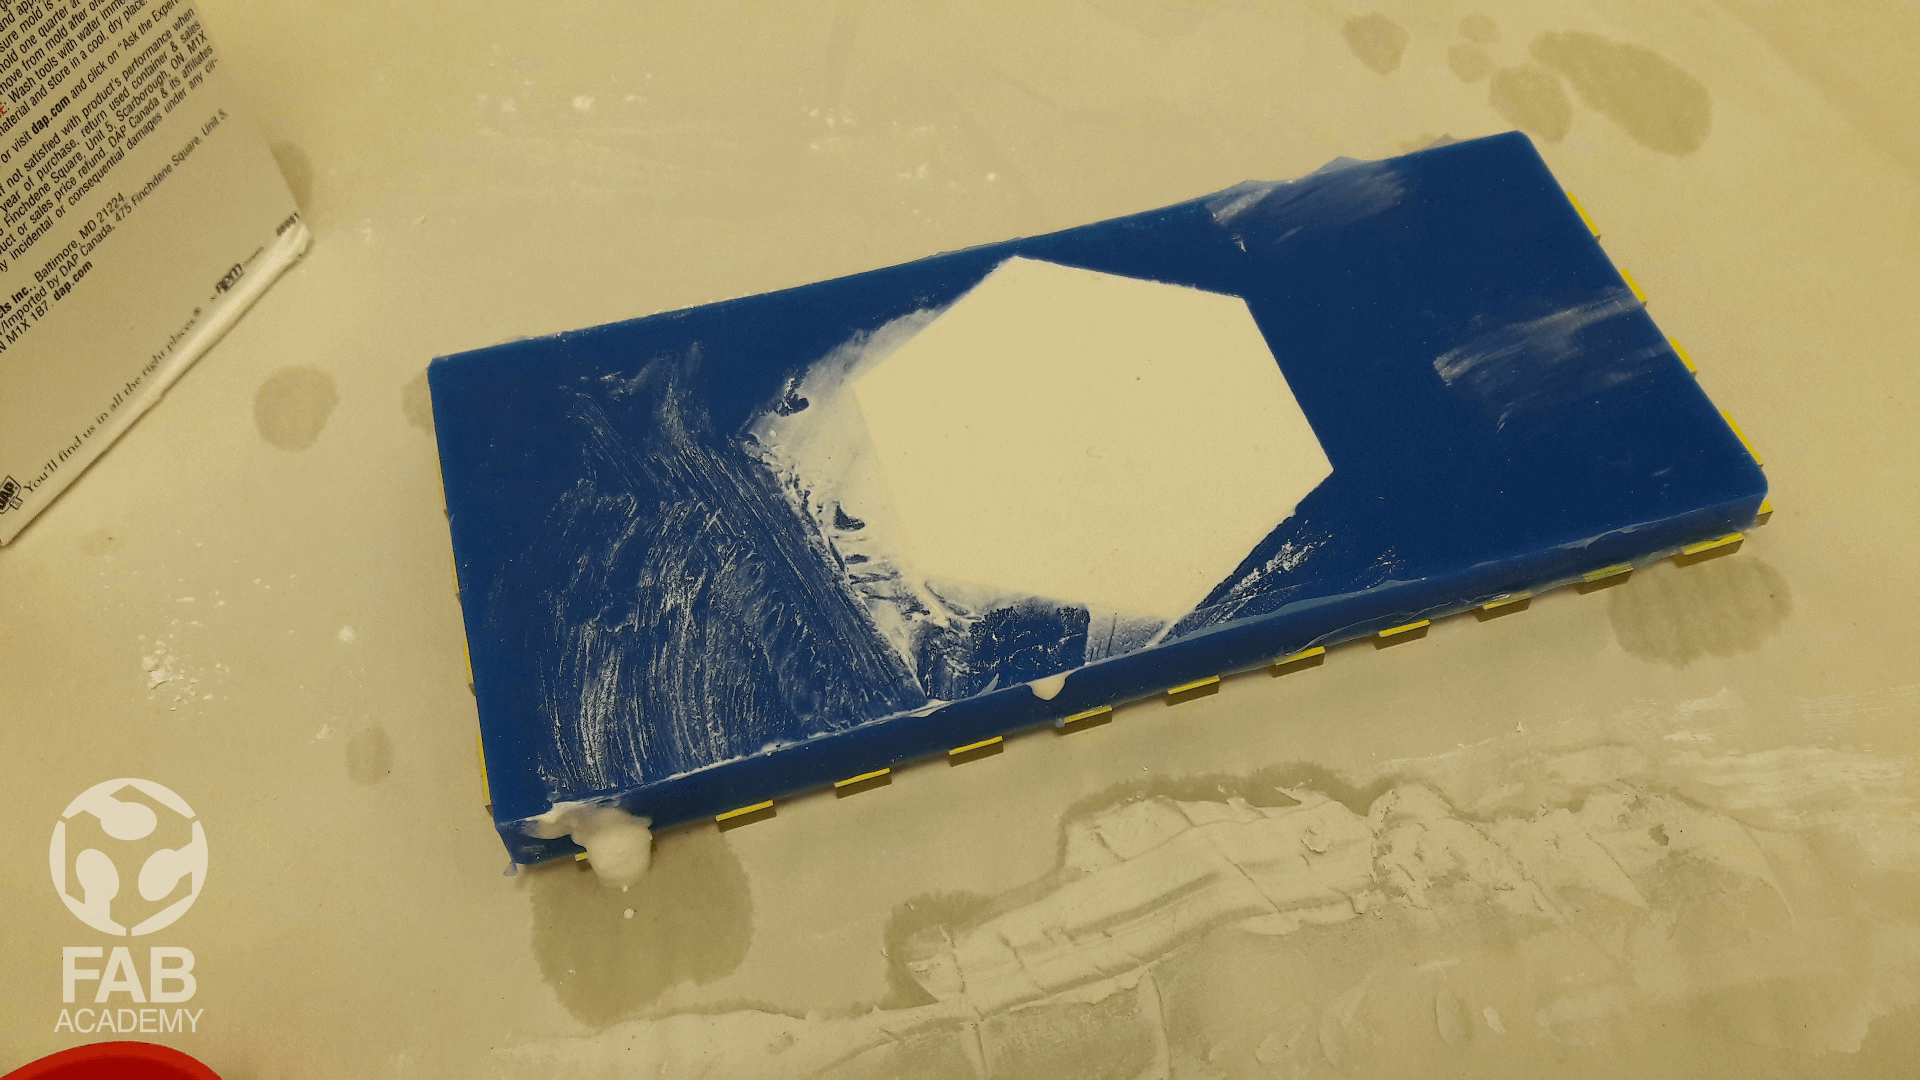
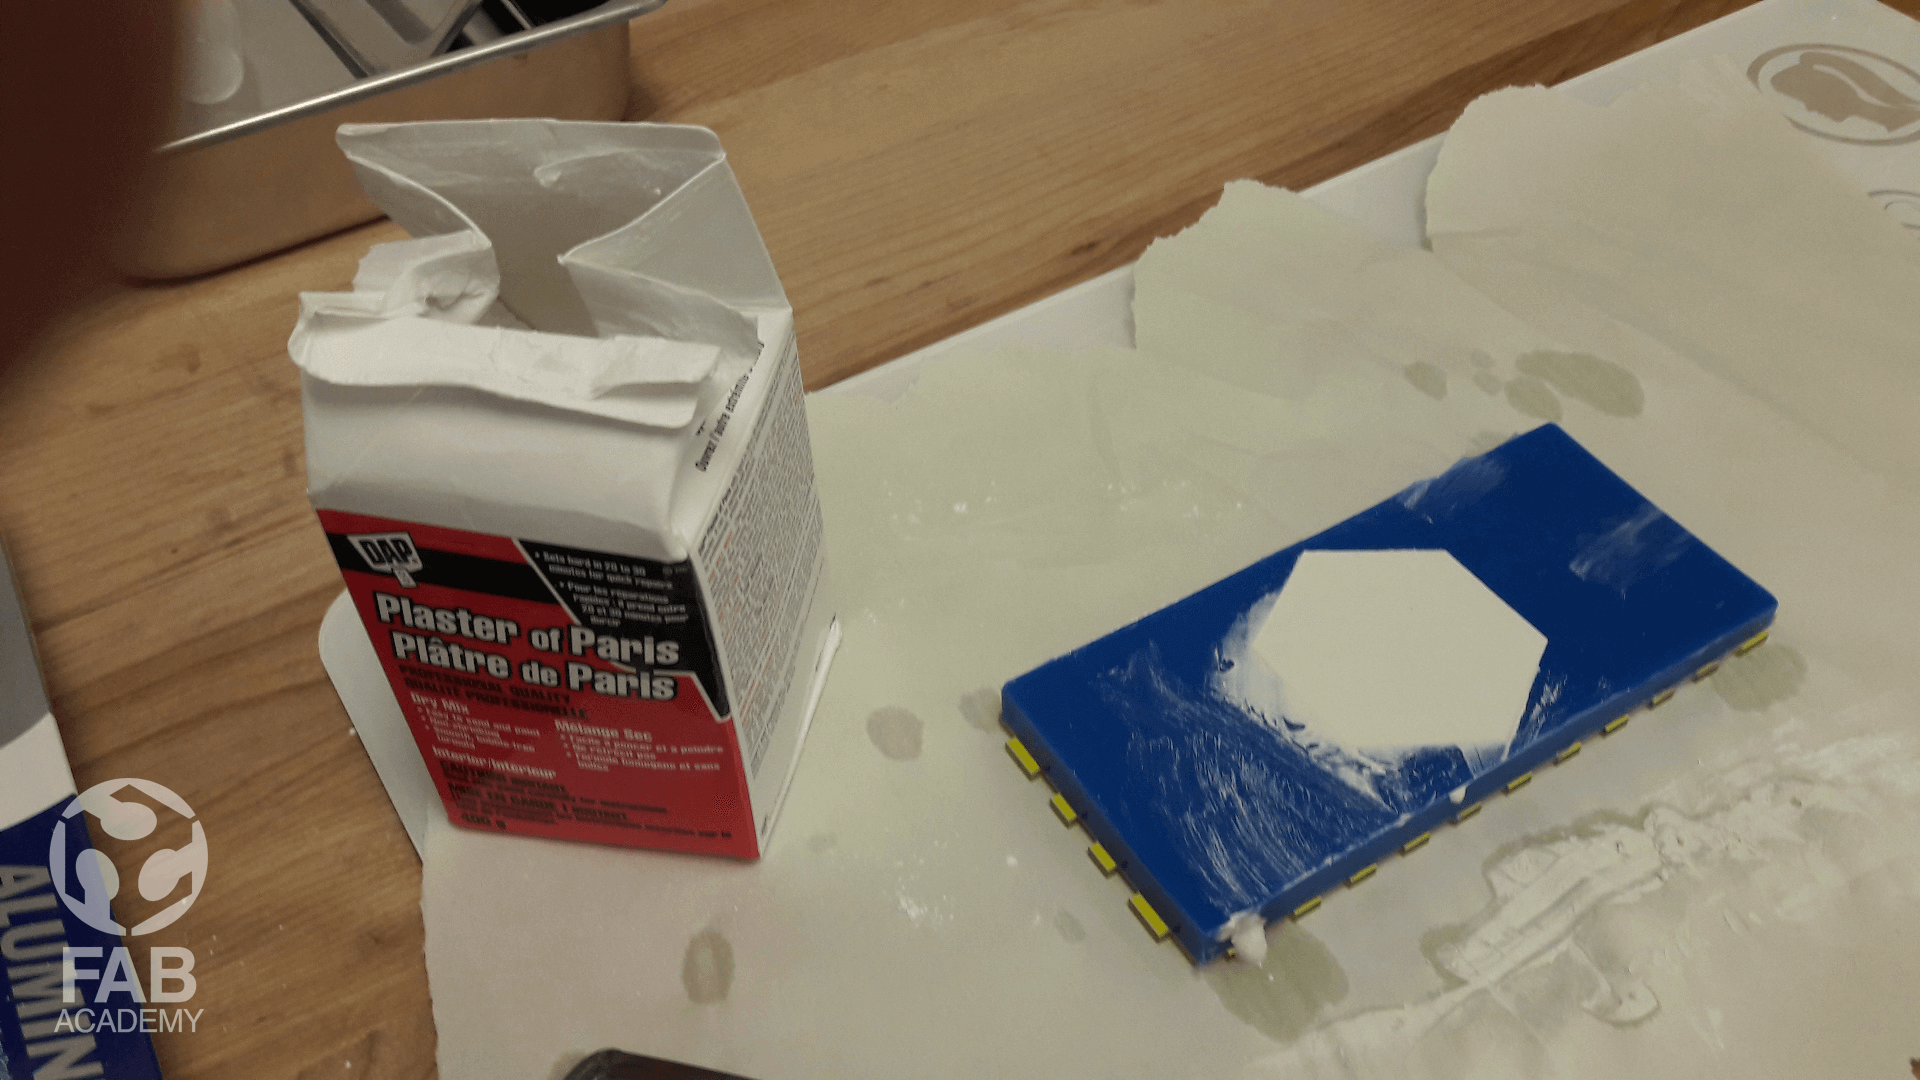
USING PLASTER OF PARIS
First before using the material I started with reading the technical data sheet and the safety instructions online. Below is a list of physical & chemical characteristics: + Vehicle: Plaster + Filler: Calcium Carbonate + Working Time: 6 to 10 minutes + Setting Time: 20-30 minutes + Final Curing: 3 days NOTE It is suggested to use cold water (40°F to 50°F) when mixing.
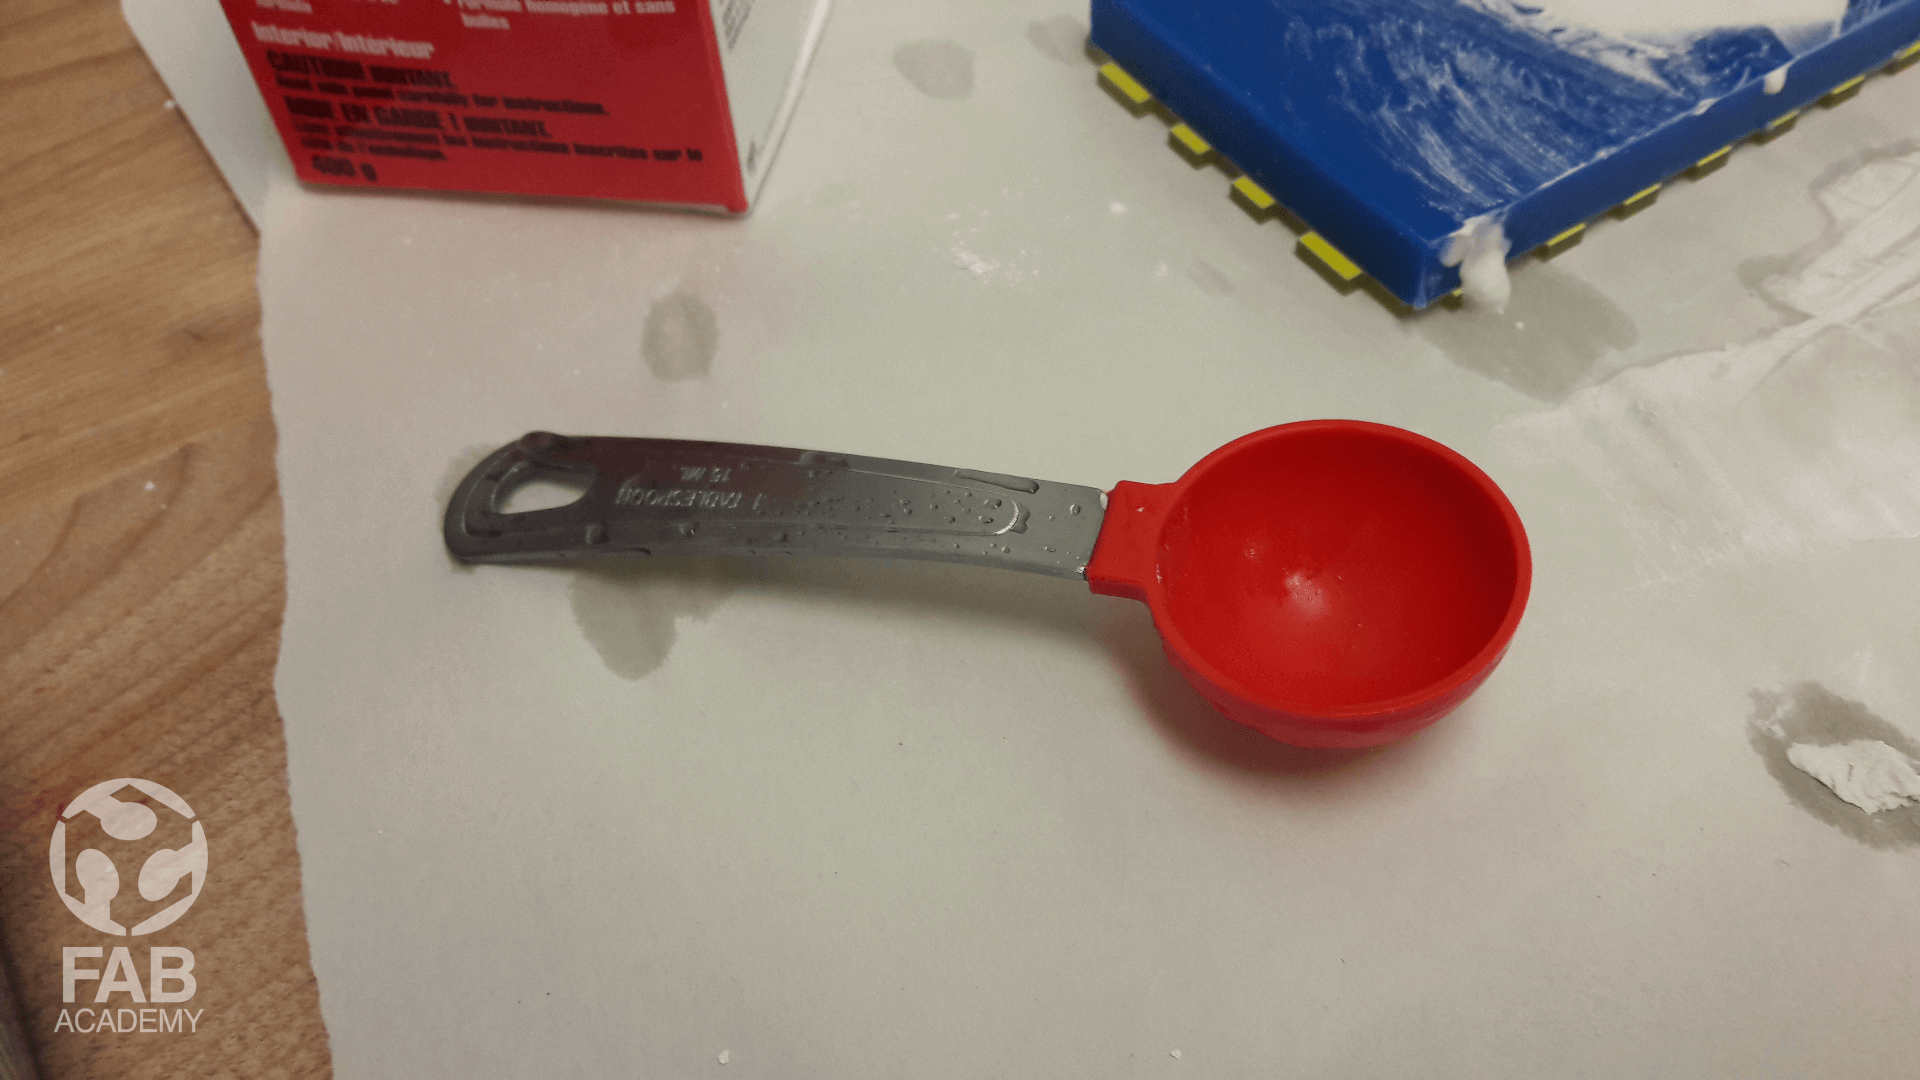
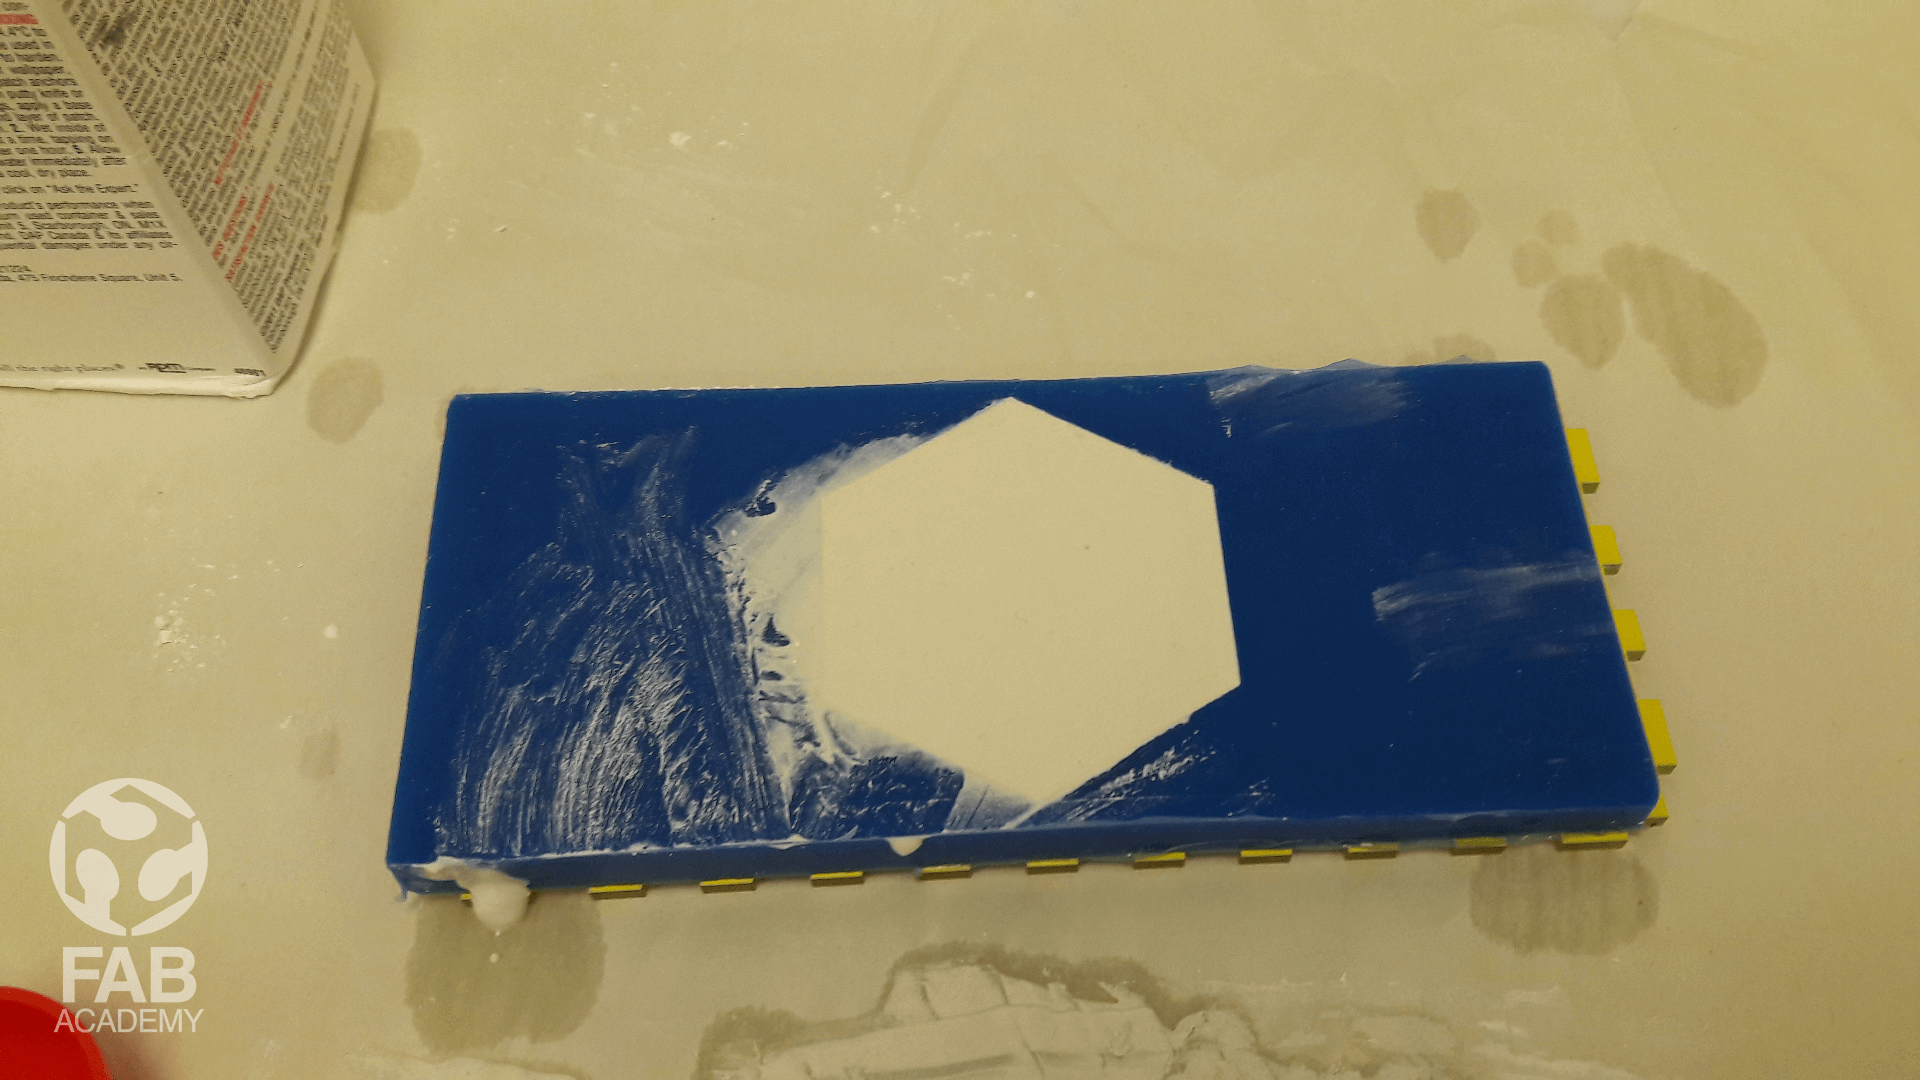
Next, I started with mixing plaster of paries with water using a wooden stick and the ratio I used was 2 parts powder to 1 part water then after the mixture reached a uniform and smooth consistency I pured it into the silicon mold. Do not stir vigorously to avoid any air bubbles from forming. Conclusion, Plaster of Paris is a great material to use for basic sculptures and craft projects because it is easy to prepare and sets in a few minutes. In addition to that mixing plaster of Paris is easy but I noticed that it is friegel and it can break easly.
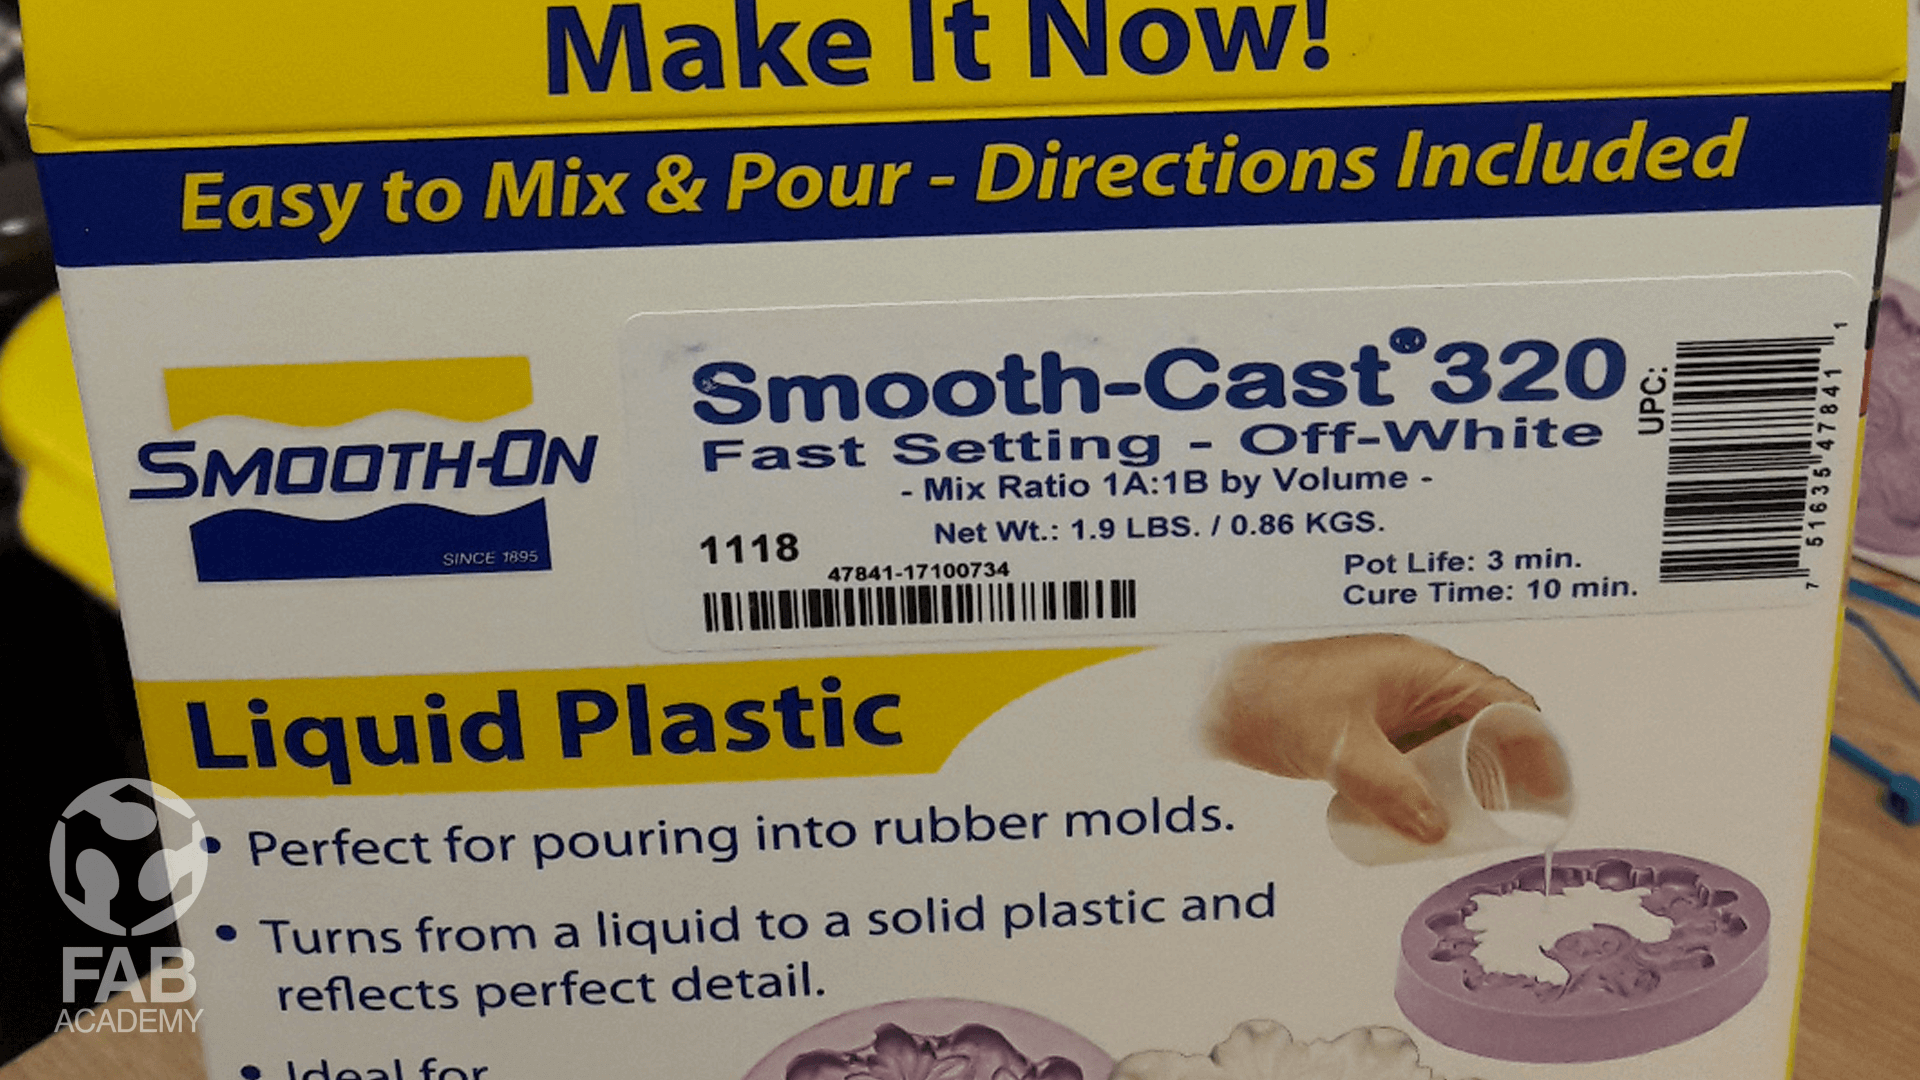
USING LIQUID PLASTIC ( SMOOTH-CAST 320 )
First before using this liquid plastic material I had to read the technical data sheet in order to learn more about the mixing ration, pot life and cure time and the safety requirements.
As mentioned in the datasheet that the pot time is 3 min and that means I have to mix and cast very quickly once I mix the 2 parts together.
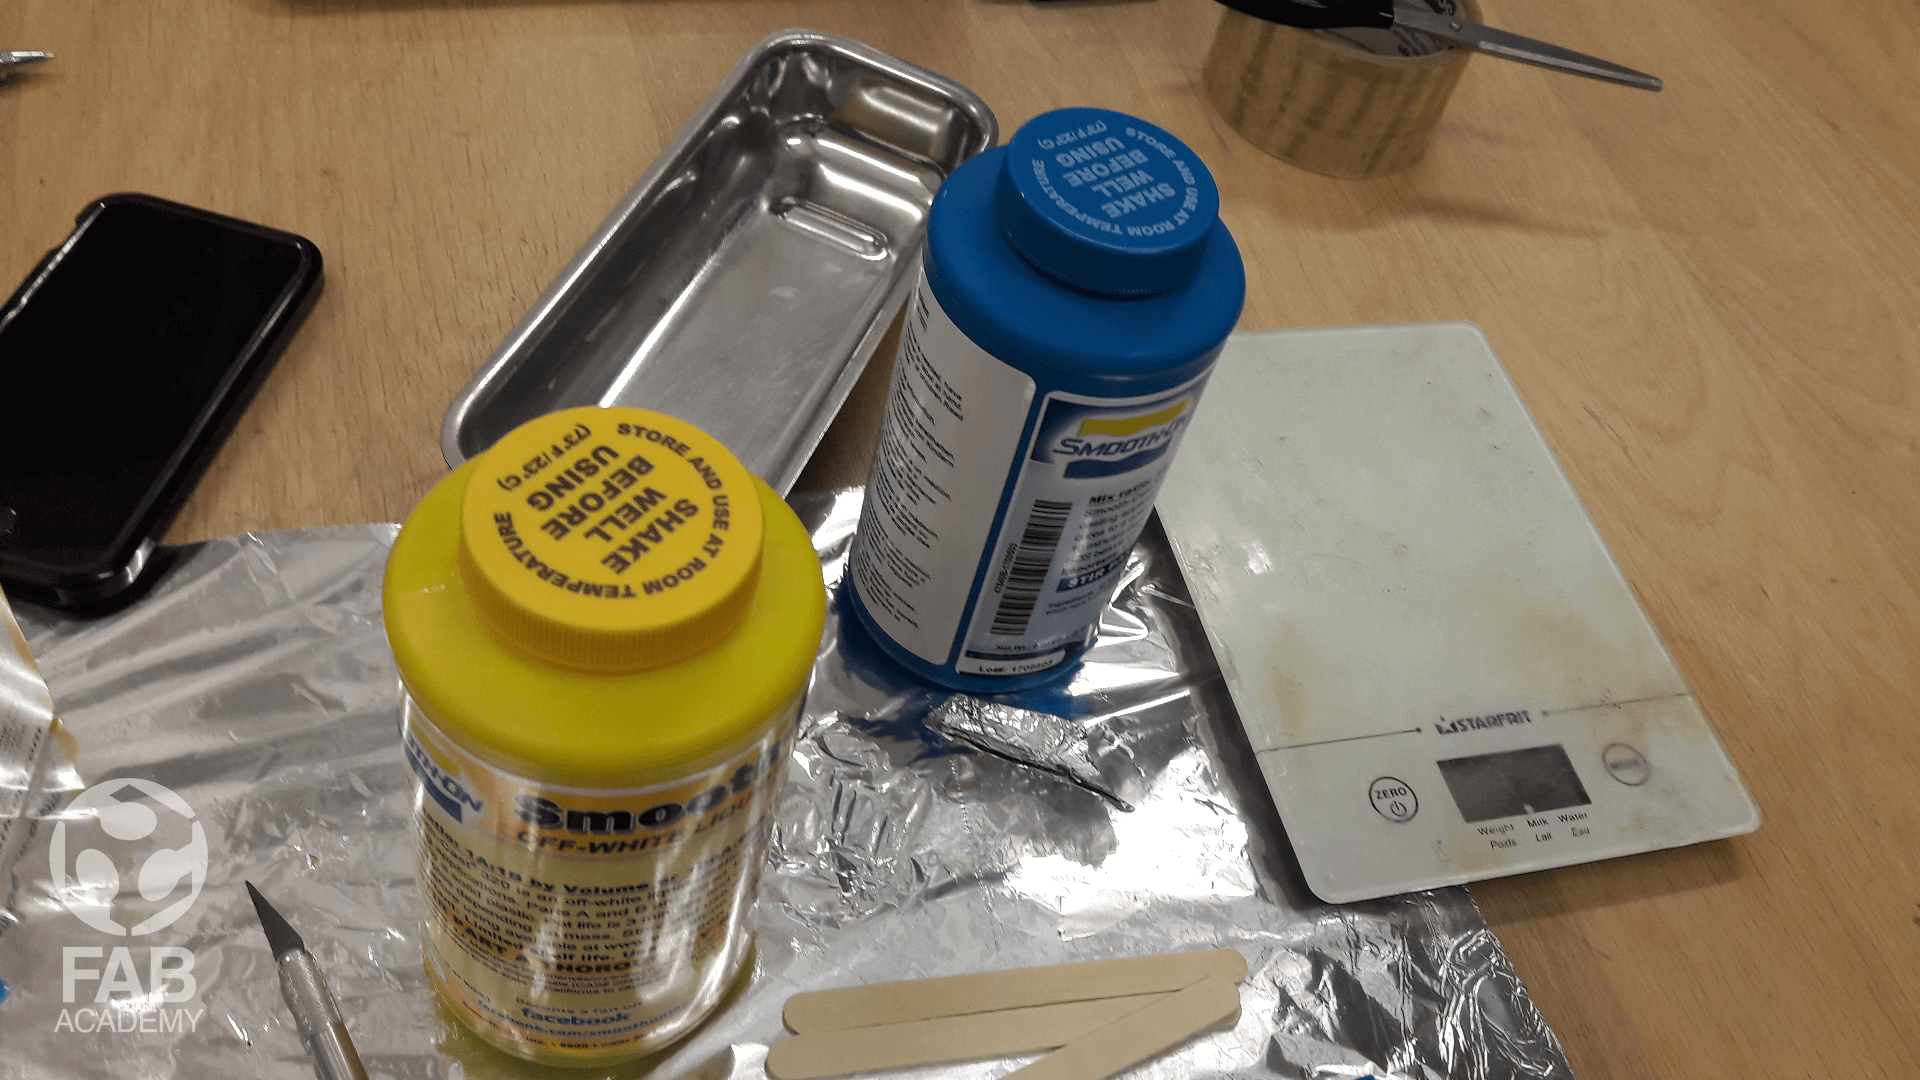
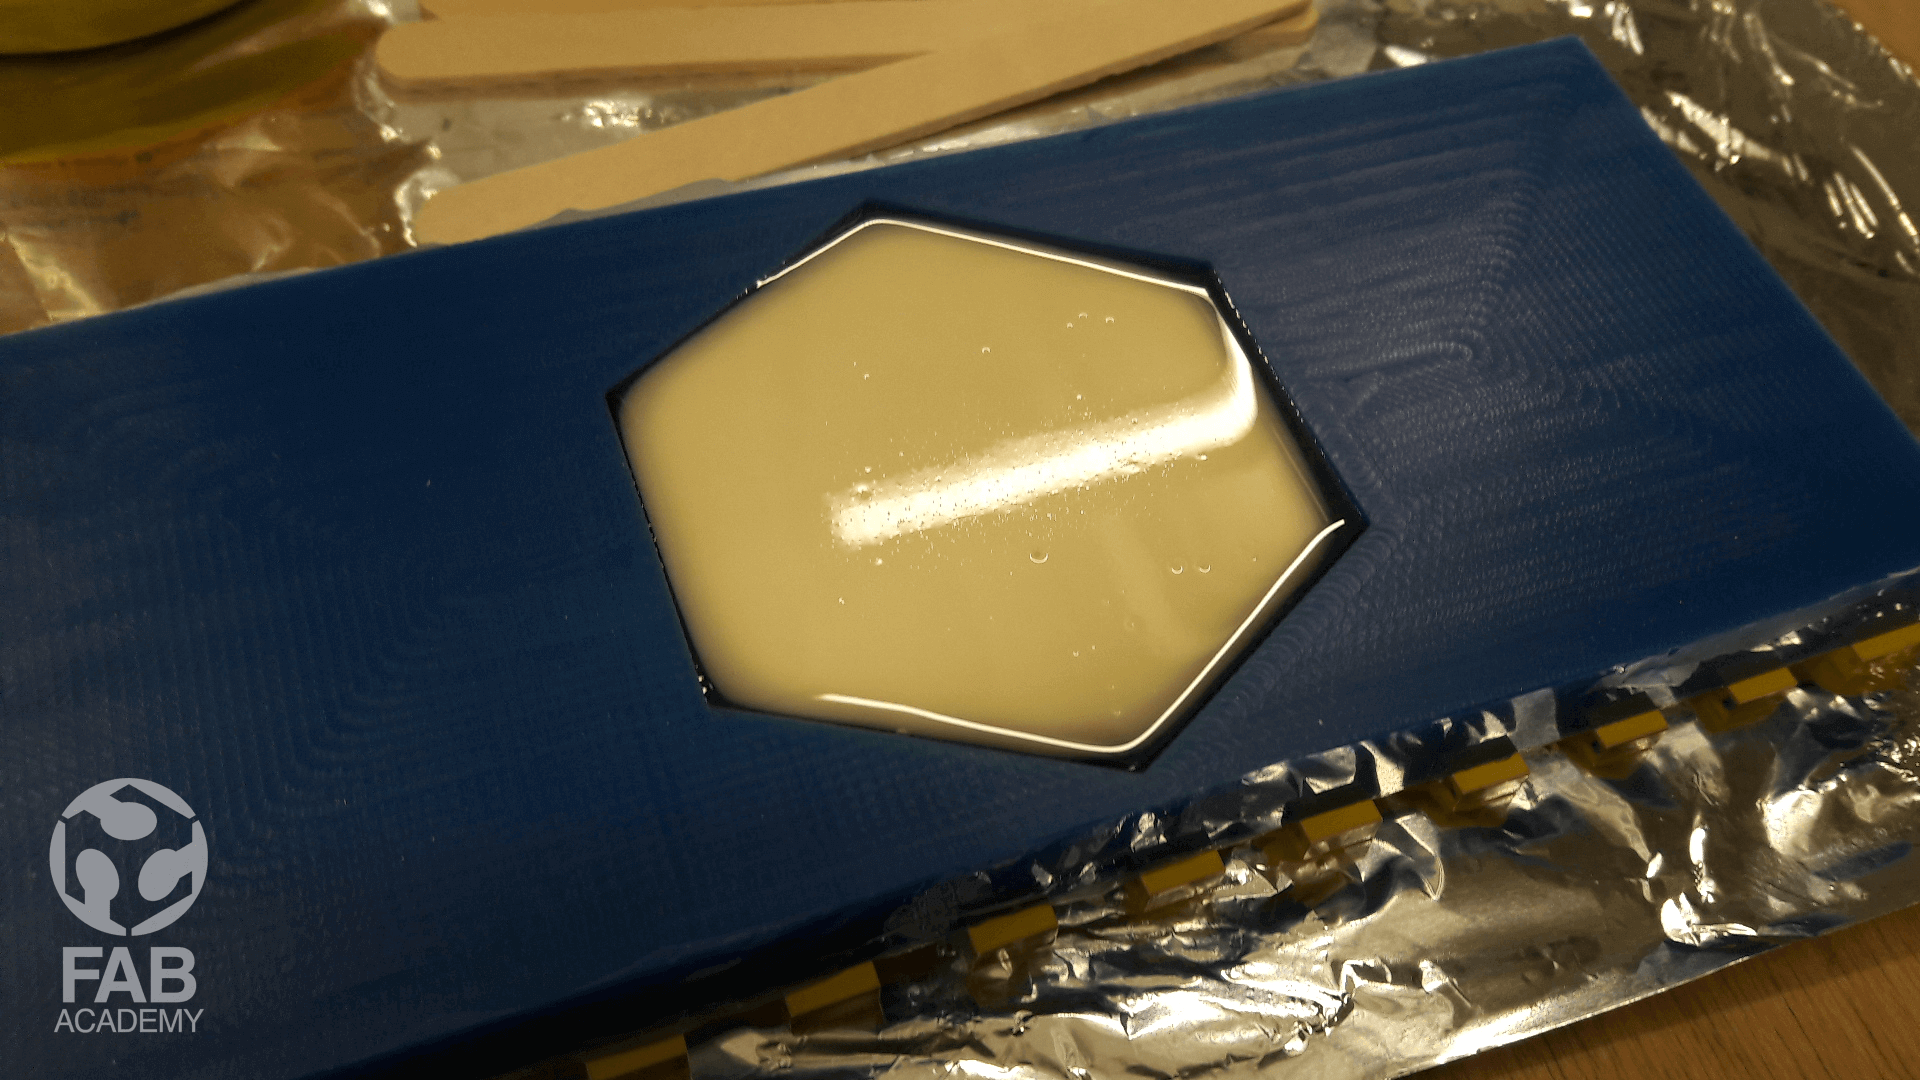
So to begin with, First I started with poring and mixing each part separately in a small plastic container and then I started mixing the 2 parts together by volume using 1A:1B ratio as indicated on the technical data sheet .
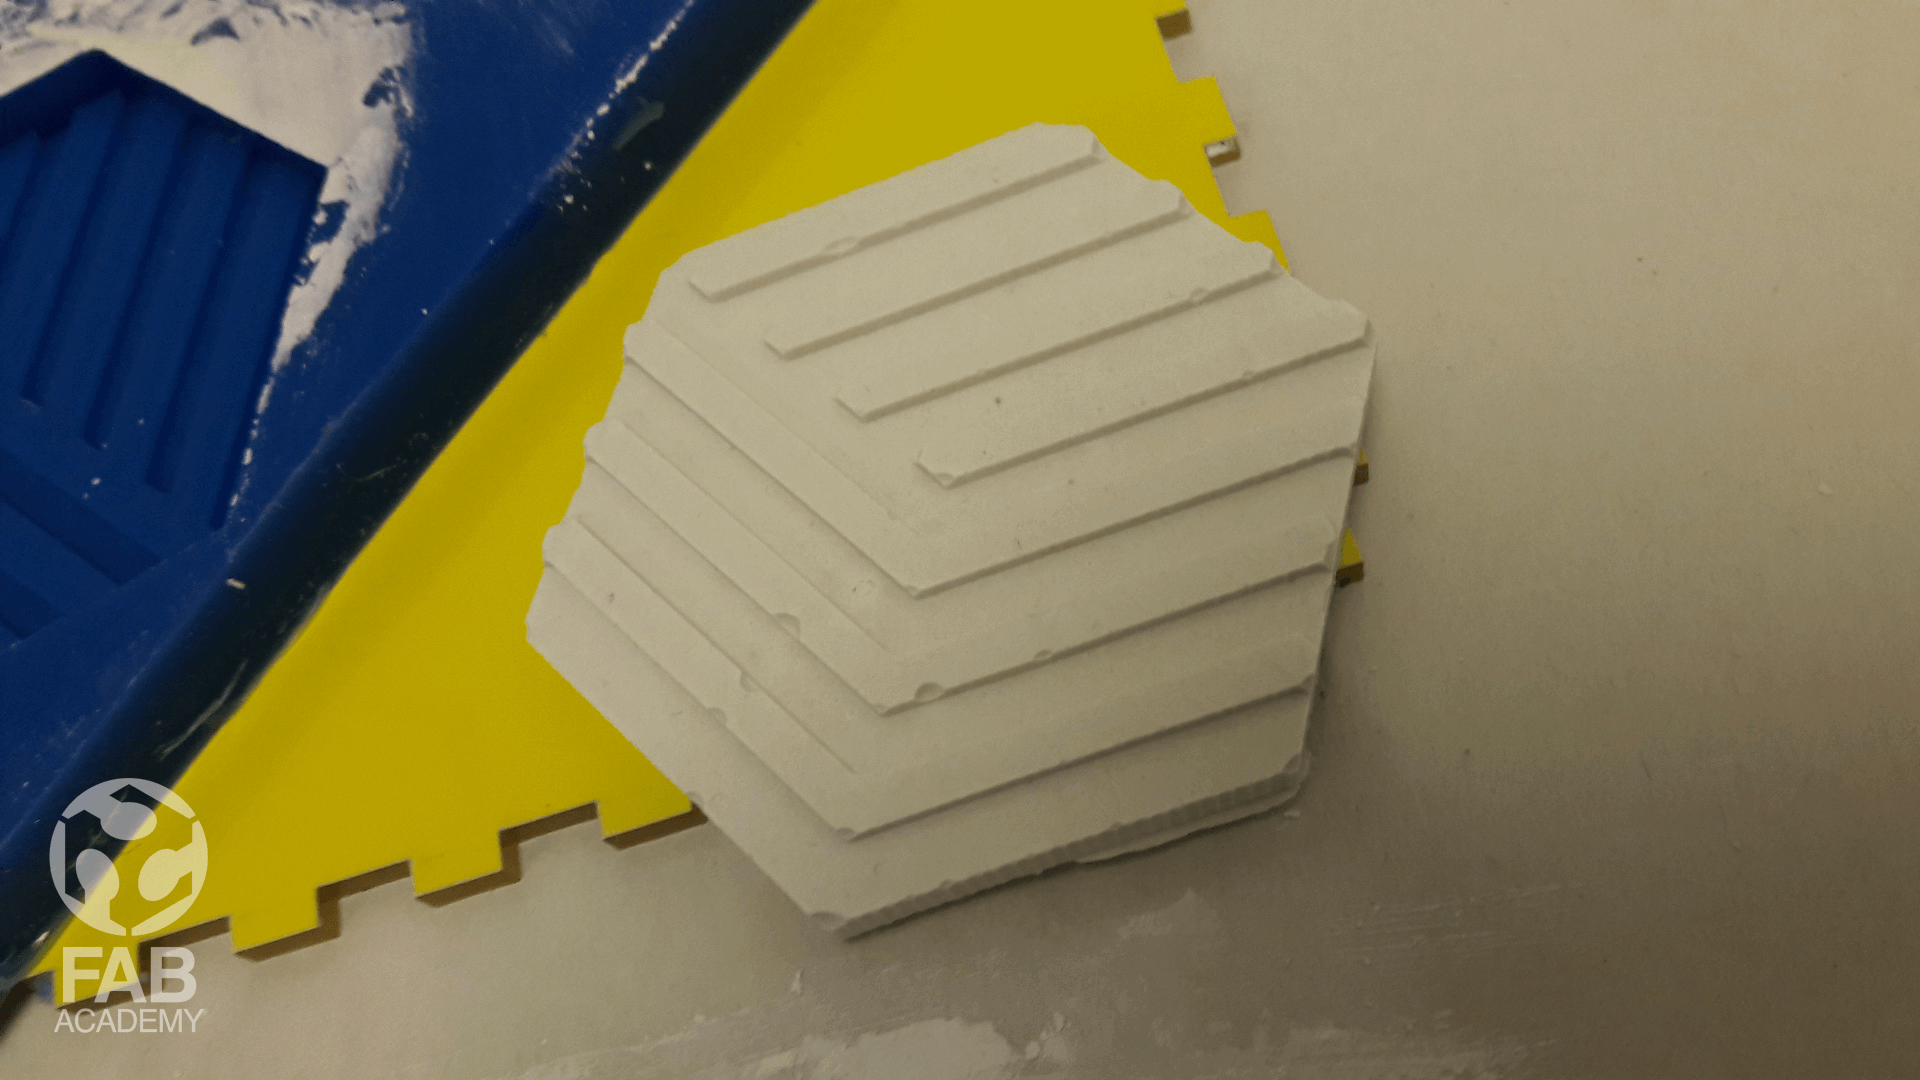
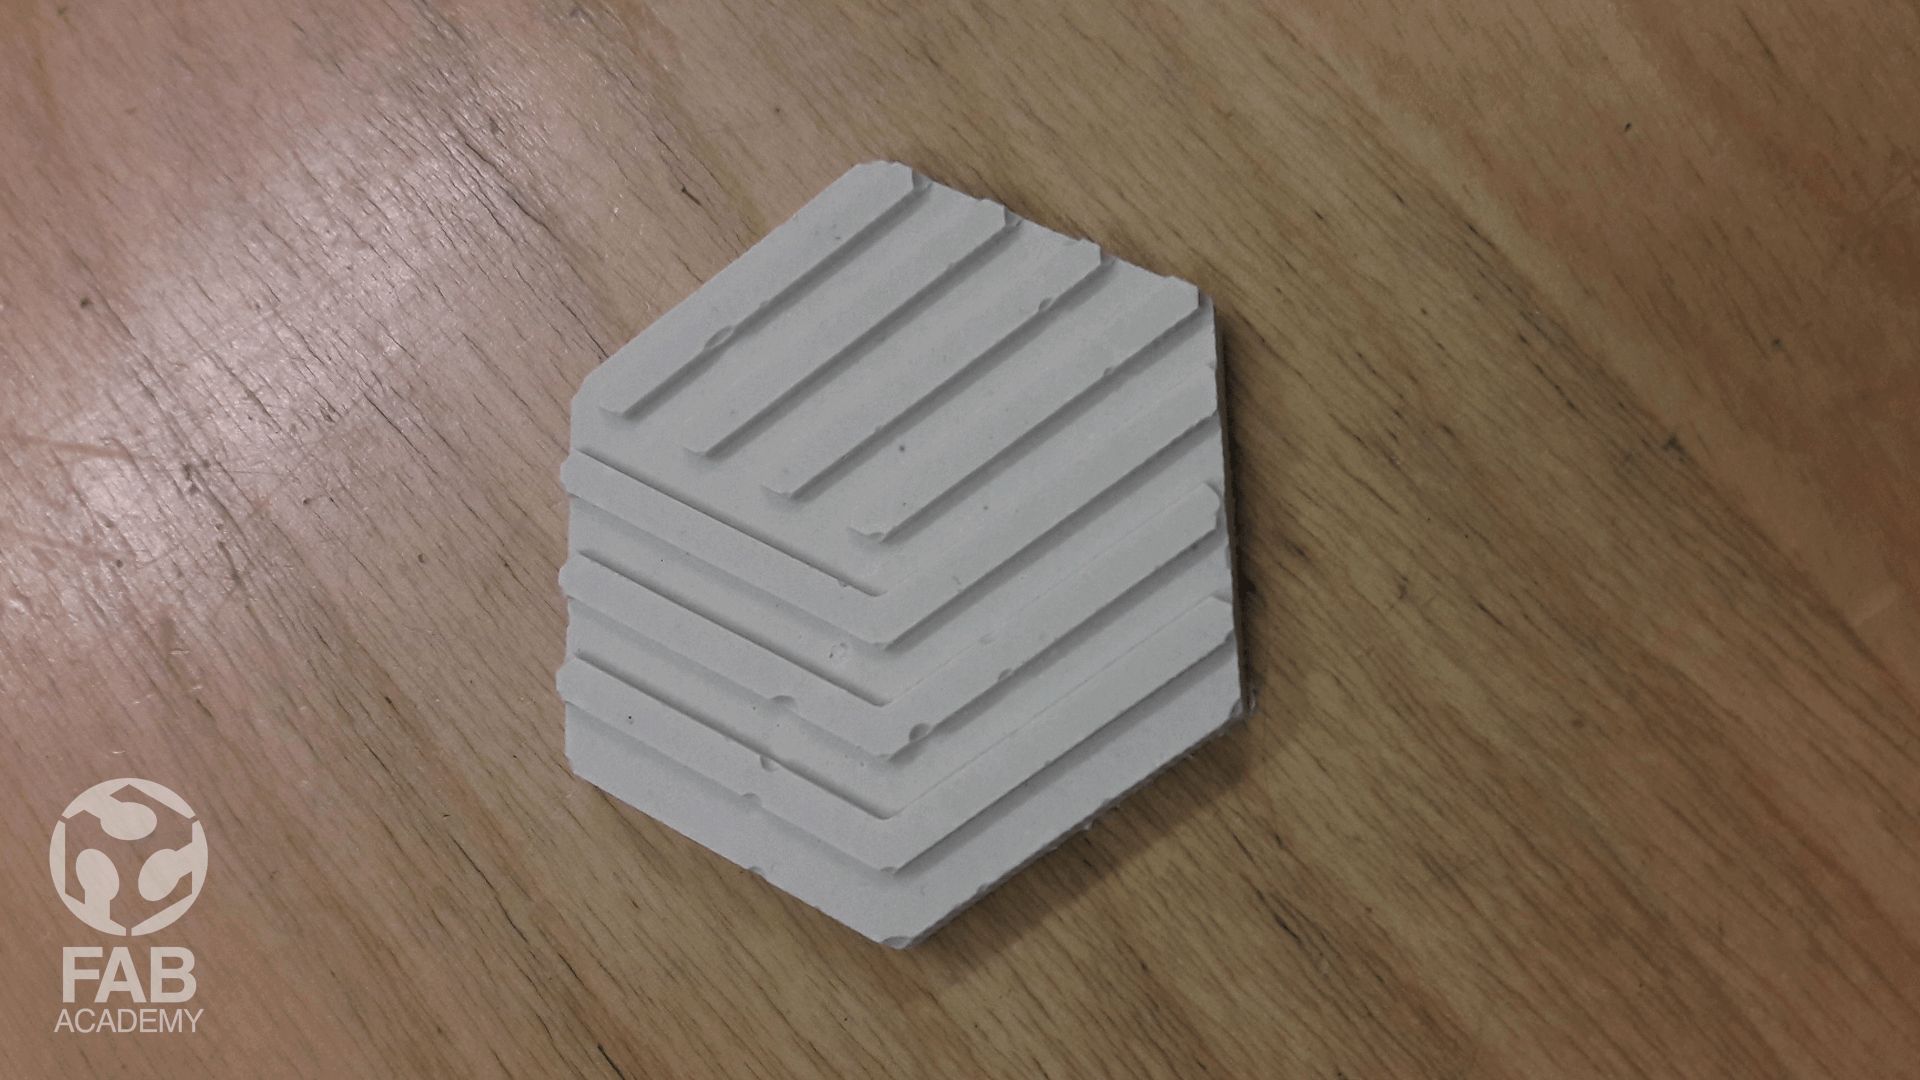
After mixed them well for about 2 minutes I poured the mixture into my silicon mold and I waited for around 15 min for the material to cure before demold it .
As the material was curing it was changing its color gradually from full clear transparent color to a white plastic like opaque color and that was cool .
When demolding the piece I saw a couple of air bubbles only, much less than the plaster cast .
Overall, I enjoy working with both materials the liquid plastic material gave me a much better finishing quality and it is definitely much more durable than plaster of Paris beside that it is really good choice for making low volume production plastic parts as for plaster of Paris I believe it is a good choice for artistic and craft project and what I liked about it is that it has a longer working time .
DOWNLOAD SECTION
+ 3D MODEL.f3d DOWNLOAD .
+ 3D MODEL.stl DOWNLOAD .
+ Phase 01_1001.nc DOWNLOAD .
+ Phase 02_1002.nc DOWNLOAD .
+ Phase 03_1003.nc DOWNLOAD .
+ Phase 04_1004.nc DOWNLOAD .